Order roof sheets 100mm short and the problem starts before the delivery lorry arrives. Order them too long and you are paying for material you do not need, then trimming sheets on site when you could be fixing them. This guide to measuring roof sheet length is here to help you get it right first time, whether you are roofing a garage, stable, workshop or agricultural building.
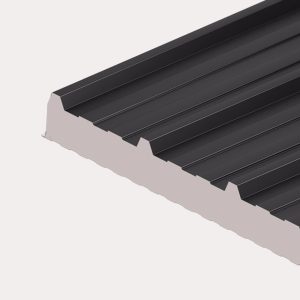
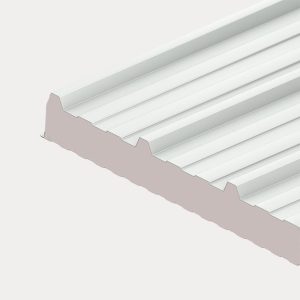
Getting the sheet length correct sounds simple, but it depends on more than the overall size of the building. You need to measure the roof slope rather than the horizontal plan, allow for any intended overhang, and think carefully about whether the sheets will run in one piece from ridge to eaves or require an end lap. On some projects, the profile type, roof pitch and the detailing at ridge and gutter can all affect the final figure.
Why roof sheet length is so often measured incorrectly
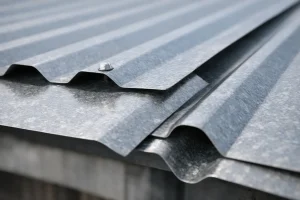
The most common mistake is measuring straight across the building width and treating that as the sheet length. Roof sheets do not sit across a flat drawing. They follow the fall of the roof, so the true sheet length is the distance from the top fixing point near the ridge down to the eaves line, measured along the slope.
That difference can be small on a shallow roof and more noticeable on a steeper one. If you are working on a domestic outbuilding it may only add a little, but on larger workshops, farm buildings or commercial refurbishments the error can quickly become expensive.
Another issue is forgetting the finishing details. A modest overhang into the gutter is usually required, and if the roof design includes flashings, ridge pieces, foam fillers or other trims, the sheet must work with those components rather than fight against them. This is where measuring properly saves time later.
Guide to measuring roof sheet length step by step
Start by identifying the direction the sheets will run. In most cases, they are laid from ridge to eaves, with the profile channels carrying water down the roof. That means the dimension you need is not the building length, but the sloping rafter length for each roof pitch.
If you have open access to the roof structure, the most reliable approach is to measure directly along the rafter line or roof slope. Measure from the point where the sheet will start beneath the ridge flashing to the point where it will finish at the eaves. Then add the required overhang into the gutter. For many sheeted roofs, that overhang is often around 50mm, but it depends on the gutter position, roof design and product being used.
If you cannot measure the slope directly, you can work it out from the horizontal span and the roof rise. On a simple mono-pitch roof, measure the horizontal distance from the high side to the low side, then measure the vertical rise. On a duo-pitch roof, measure from the ridge centre line down to the eaves on one side, not across the full building width. Once you have rise and run, you can calculate the sloping length. If maths on site is not your favourite job, sketch it clearly and double-check before ordering.
In practice, many buyers use a tape to measure the timber or steel structure directly because it reduces guesswork. The key point is this – always measure the line the sheet will actually cover.
Allowing for eaves overhang
The sheet should normally project beyond the wall line and finish correctly into the gutter. Too little overhang can cause water to run behind the gutter or back towards the fascia. Too much can leave the sheet unsupported at the end, which is not ideal in exposed weather conditions.
The right overhang depends on your gutter set-out, support detail and sheet profile. A small shed roof and a larger industrial roof may not use exactly the same allowance, so avoid assuming one dimension suits every job. If in doubt, check the planned eaves detail before finalising your cut length.
Allowing for ridge detail
At the top of the roof, the sheet usually finishes beneath a ridge flashing. You do not generally run the sheet right through the ridge line on a standard pitched roof. Instead, you leave the correct position for the ridge detail to weather the top joint properly.
This is why measuring from the outside edge of the building alone can be misleading. Your actual sheet start point is controlled by the roof detail, not just the blockwork or frame below.
When roof sheets need an end lap
For many smaller buildings, one full-length sheet from ridge to eaves is the cleanest option. It is quicker to install, neater to finish and reduces the number of joints where water could become an issue. But on longer roof slopes, transport, handling or product limits may mean you need two sheets joined with an end lap.
If that applies, your total roof slope length is not the same as the length of each sheet ordered. You must allow for the overlap between the upper and lower sheets. That overlap varies depending on the roof pitch and system specification. A shallower pitch often needs a larger lap because water runs away more slowly, while steeper roofs can sometimes work with less.
This is one of those areas where guessing can cause real problems. If the lap is too short, weather resistance suffers. If it is too generous, you may waste material and throw out the sheet layout. On larger or lower-pitch roofs, it is worth checking the recommended lap for the sheet profile before placing the order.
Measuring different roof types
A simple mono-pitch roof is usually the easiest. Measure the sloping distance from top to bottom, add the correct eaves overhang, and confirm the top detail. Provided the roof is square and the structure is consistent, that gives you the sheet length.
A standard apex roof needs separate attention on each side. In theory both pitches may be identical, but older buildings and timber structures are not always perfectly even. Measure both sides rather than assuming they match.
On lean-tos, canopies and extensions, watch the junction with the existing building. Flashing details where the new roof meets a wall can affect where the sheet starts. Again, the useful measurement is the weathered sheet run, not just the visible frame size.
For curved roofs or more complex layouts, sheet length can become more technical, especially with specialist profiles or insulated systems. At that point, taking advice before ordering is usually the sensible move.
Common mistakes that cost time and money
The first is measuring the floor plan rather than the roof slope. The second is forgetting overhangs, laps or flashings. The third is assuming the structure is perfectly square when it is not.
There is also a practical mistake many people make on refurbishments – measuring the old sheets and reordering the same size without checking whether they were correct in the first place. Existing sheets may have been site-cut, poorly fitted, or detailed around old gutters that are now being replaced.
Another one to watch is mixing up sheet cover width with sheet length. Cover width tells you how many sheets you need across the roof. Length is the top-to-bottom measurement down the slope. Both matter, but they solve different parts of the order.
A few checks before you place the order
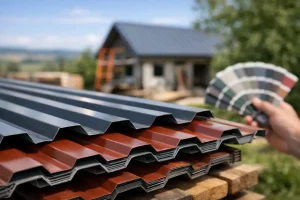
Before confirming lengths, look at the full roof build rather than the sheets in isolation. Check the pitch, the profile, where the gutters sit, whether you need anti-condensation backing, and how the ridge and verge details will finish. A roof is only as good as the components working together.
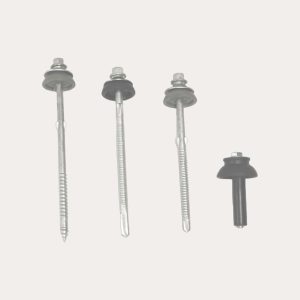
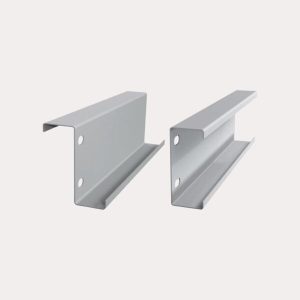
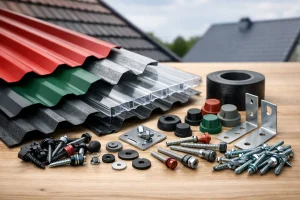
This is especially important if you are ordering a complete package with flashings, fixings, rooflights, purlins and trims. The benefit of sourcing everything together is that the parts can be matched to the job properly, rather than pieced together afterwards.
If you are between sizes, do not assume longer is always safer. Extra length can sometimes be trimmed, but site cutting takes time and may not suit every sheet type or coating. Precision is usually the better option, especially where you want a clean, weatherproof finish.
Getting support if you are unsure
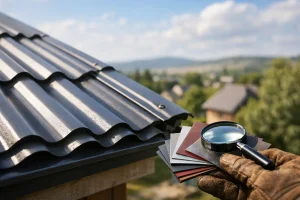
Even experienced installers will pause on awkward roof details, and that is sensible. A quick check on dimensions is far easier than sorting out a shortfall once the job is underway. If your roof has unusual pitches, multiple levels, wall abutments or long runs requiring laps, it helps to have the specification looked over before ordering.
At Roof Sheets Online, we speak to trade buyers and capable DIY customers every day who want to make sure the sheets, flashings and fixings all line up properly. The right measurement at the start keeps the build moving, protects the finish and helps you avoid unnecessary waste.
Take your time with the tape, measure the roof slope rather than the plan, and think through the full detail from ridge to gutter. A few extra minutes there can make the whole job feel a lot more straightforward.