A roof can have excellent sheets, neat flashings and sound structural support, then still fail early because the wrong roofing sheet fixings were used. A fixing that is too short will not achieve enough purchase. One with the wrong thread can spin in the support. A poor-quality washer can let water track through the fixing point. Getting this small detail right protects the whole build.
For sheds, garages, workshops, stables, agricultural buildings and light industrial roofs, fixings need to suit the sheet, the structure and the conditions the roof will face. The right choice creates a secure, weatherproof installation that looks professional and continues to perform through wind, rain and seasonal movement.
Start with the support beneath the sheet
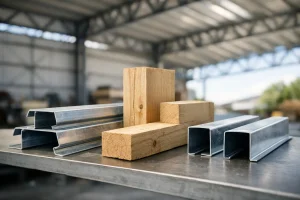
The first question is not simply which colour cap matches the roof sheet. It is what the sheet is being fixed into. Timber purlins and steel purlins require different screw types, and treating them as interchangeable is a common cause of weak fixings.
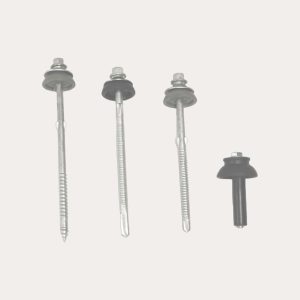
Timber fixing screws have a coarse thread designed to bite firmly into wood. They are normally used for roofing sheets fixed to timber rafters, battens or purlins. The screw must pass through the sheet and gain sufficient embedment in sound timber. If the purlin is thin, split, wet or decayed, even the correct screw will not perform as intended.
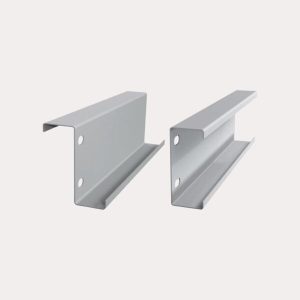
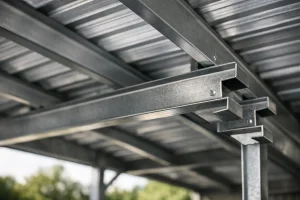
Steel purlin screws are self-drilling fixings made to drill through the sheet and steel support, then form a secure thread. They are specified according to the gauge of steel being fixed into. This matters because a screw designed for light-gauge steel may struggle with a heavier section, while an unsuitable fixing can over-drill the hole and reduce holding strength.
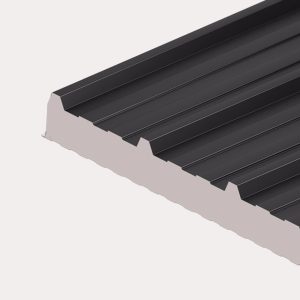
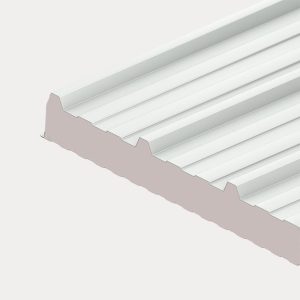
When working with insulated composite panels, always follow the panel manufacturer’s fixing specification. The required length must account for the outer sheet, insulation core and the depth of the structural support. This is particularly important with premium insulated systems, where incorrect fixing can affect weather performance and warranty requirements.
Roofing sheet fixings need the right length
A roofing screw is not chosen by length alone, but length is still critical. Measure the complete build-up: the height and thickness of the sheet or panel, any spacers or packers, and the depth of the purlin or rail beneath. The fixing needs to reach far enough into timber or through steel to hold securely without being unnecessarily long.
For single-skin box profile or corrugated sheets on timber, the fixing must pass through the crown of the profile and into the purlin with a reliable grip. On steelwork, the screw must penetrate the support sufficiently for the threads to engage fully. A screw that only catches the edge of a steel purlin is not a dependable structural fixing.
Longer is not automatically better. Excessively long screws can be awkward to install, leave sharp points projecting below the structure and create more opportunity for misalignment. Choose the length for the exact sheet and support arrangement, rather than estimating from a photograph or a previous job.
The washer does the weatherproofing work
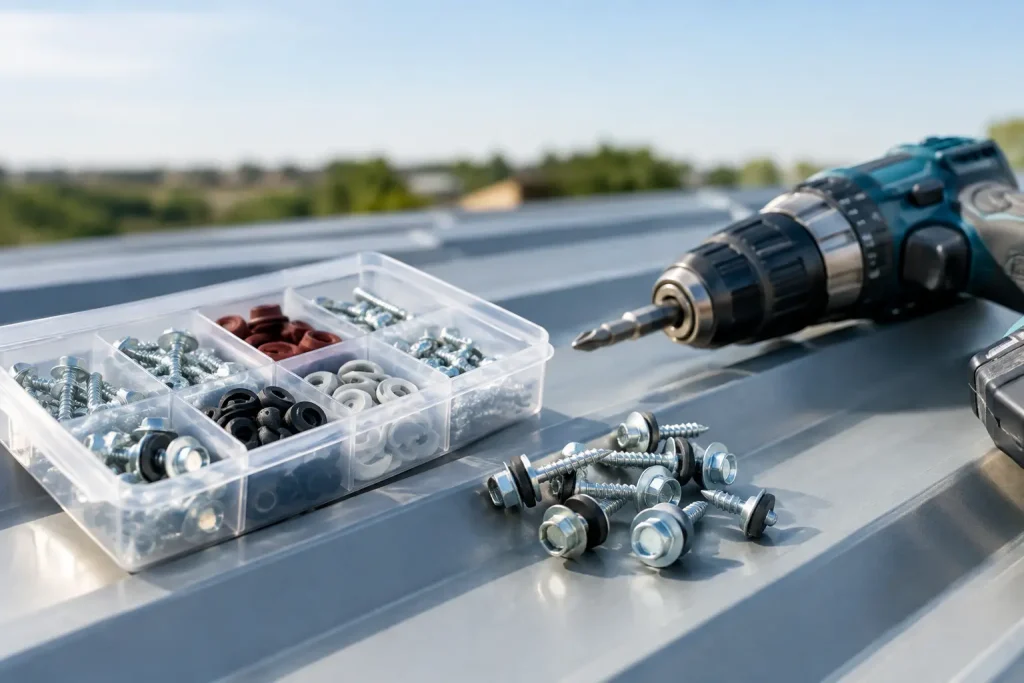
Most roof sheet screws are supplied with a bonded washer, usually comprising a metal washer with an EPDM sealing element. This washer is compressed against the sheet as the screw is tightened, creating a weatherproof seal around the penetration.
EPDM is widely used because it copes well with outdoor exposure, temperature changes and UV light. The washer should sit squarely on the sheet, with even pressure around its edge. It should not be crushed flat, split or pushed out from beneath the metal washer.
Over-tightening is one of the easiest mistakes to make. It can distort the sheet profile, damage the washer and reduce the seal rather than improving it. Under-tightening leaves the washer loose and allows movement around the hole. A correctly installed fixing feels firm, with the washer compressed enough to seal but not deformed.
Colour-matched heads are a worthwhile finishing detail on visible roofs and wall cladding. They help the fixing blend into the sheet colour for a cleaner result. However, colour should be the final part of the specification. Correct thread type, length and washer quality always come first.
Where to place fixings on profiled sheets
For many box profile and corrugated roofing sheets, primary fixings are installed through the crown of the profile where the sheet meets the purlin. Fixing through the crown reduces the chance of standing water sitting around the screw head, provided the profile manufacturer recommends that method.
The exact pattern depends on the sheet profile, sheet length, roof pitch, purlin spacing, building location and expected wind loading. Edges, eaves, ridges and corners are more exposed to wind uplift, so they commonly need a closer fixing pattern than the main area of the roof. Do not assume that one fixing pattern suits every project.
Side laps may also need stitching screws. These are smaller fixings used to join overlapping sheets together, helping to keep the lap tight and prevent wind-driven rain from working beneath it. Stitching screws are not a substitute for the main structural roof fixings. They perform a separate job and should be installed at the recommended spacing for the profile and application.
Wall cladding is slightly different. Fixing positions and lap arrangements depend on whether sheets are fitted vertically or horizontally, the profile design and the structural rails behind them. The same principles apply: use the right screw for the support, install it squarely, and follow the sheet manufacturer’s guidance.
Fit screws squarely and in the right sequence
A good fixing starts with a well-supported sheet. Check that purlins are level, correctly spaced and aligned before sheets go on. If the frame is out of line, installers often compensate by forcing sheets into position, which can widen holes, distort laps and put unnecessary strain on fixings.
Place the sheet accurately at the eaves, allow the required overhang and check the side lap before installing the first few screws. Once the first sheet is straight and secure, continue across the roof while maintaining the specified overlap. Driving screws at an angle can leave one side of the washer unsealed, so keep the driver perpendicular to the sheet surface.
Use a driver with controlled torque where possible. This gives more consistent washer compression than driving every screw at full speed. If a screw misses the purlin or is driven in the wrong place, do not simply remove it and leave an open hole. Seal or repair the hole using an appropriate method, then install a new fixing into sound support.
Common fixing mistakes that cost time later
Most leaks around metal roofing are preventable. They usually trace back to a few installation shortcuts:
- Using timber screws in steelwork, or steel screws in timber, so the thread cannot hold as designed.
- Choosing a screw length without allowing for sheet depth, insulation or purlin thickness.
- Over-driving fixings until the bonded washer is visibly crushed or the sheet is dimpled.
- Using too few fixings at roof edges, laps and exposed areas where wind uplift is greatest.
- Treating stitchers as primary structural screws, or omitting them from side laps where they are required.
There is also a material compatibility issue to consider. Use quality fixings suited to the sheet finish and the building environment. Coastal, exposed and agricultural sites can be harder on metalwork because of salt, moisture and airborne contaminants. In those conditions, specification deserves extra care, including the sheet coating, flashings and every visible fixing.
Plan the full roof build, not just the sheets
Fixings work alongside closures, fillers, sealants, flashings, rooflights and purlins. A roof may need eaves fillers to close profile gaps, butyl tape at laps, ridge fixings, stitching screws and colour-matched primary screws. Ordering these items together avoids last-minute substitutions and keeps the installation moving.
It is also sensible to allow a small contingency for fixings. Mis-drilled holes, offcuts, rooflight sections and detailing around flashings can all affect the final quantity. What should not change is the specification: a spare box of the right fixing is useful; a box of almost-right screws is not.
Roof Sheets Online can help match fixings to the sheets and components in your order, whether you are replacing a few sheets on a garage or specifying a complete new roof. Having the profile, support type, purlin spacing and sheet dimensions to hand makes the advice more precise.
A well-fixed roof does not draw attention to itself. It stays tight in the wind, sheds water properly and lets the sheet system do the job it was designed to do. Take the time to specify the fixings before the sheets arrive, and the rest of the installation becomes far more straightforward.