Condensation never shows up when you are measuring and ordering. It shows up later – first cold snap, first warm day after a frosty night – when the underside of the sheet starts “raining” onto tools, feed, stored timber or a fresh plasterboard ceiling.
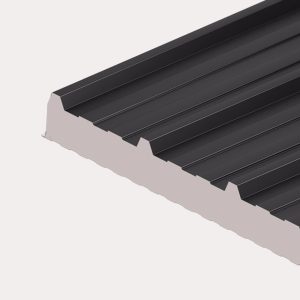
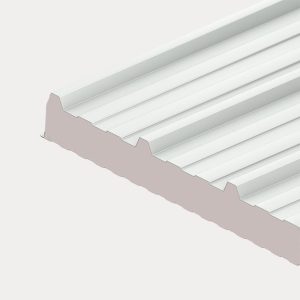
That is exactly the job Dripstop is built for. It is a factory-applied anti-condensation fleece bonded to the underside of steel roof sheets. It absorbs moisture as it forms, then releases it back out as conditions dry. Done right, it takes the edge off the most common problem on garages, workshops, stables and agricultural buildings: annoying, damaging drips.
This guide focuses on dripstop anti condensation sheets fitting – what to plan, how to handle the sheets, and where small mistakes tend to undo the benefit.
What Dripstop does (and what it does not)
Dripstop is not insulation. It will not stop the metal getting cold, and it will not magically prevent condensation forming if the building is producing lots of moisture. What it does do is manage that moisture so it is held in the fleece rather than falling as droplets.
That distinction matters on real projects. If you are heating the space, running a lot of water (wash-down areas, dairies), or trying to create a habitable room, you are into a different specification – typically insulated panels or a fully designed build-up with vapour control. For the majority of outbuildings and simple roof structures, Dripstop is a very effective, practical upgrade.
Before you start: check the build is suitable
Most fitting issues are not “bad sheets”, they are mismatch between the roof design and the way condensation behaves.
A simple open-sided or well-ventilated building is usually ideal. The fleece can dry out between cycles because air moves through the space. A tightly sealed shed full of wet gear, with no ventilation and a constantly cold roof, is the scenario where any anti-condensation layer will be under pressure.
Also check pitch and drainage. Dripstop holds moisture, but it is not a gutter. Your roof still needs enough fall to clear rainwater quickly, correct side laps and end laps, and properly detailed flashings so external water is not being driven back under the sheet.
Handling and storage: protect the fleece first
Dripstop’s performance depends on the fleece being clean and intact. The steel face is tough. The underside is the part you must look after.
Store packs on bearers off the ground, under a waterproof cover that still allows airflow. If water gets into a packed bundle and sits there, you can end up with marking or the fleece taking on moisture before it is even installed. It is not a disaster, but it is avoidable hassle.
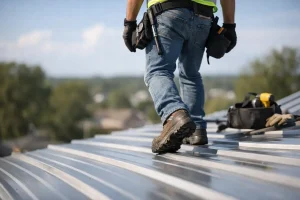
When you lift sheets, avoid dragging the underside across rough concrete, blockwork or gravel. On longer lengths, use enough people and lift evenly so the edges do not scrape. If the fleece gets torn at the eaves edge or around a lap, those are the exact places drips will find a way through.
Dripstop anti condensation sheets fitting: the basics
1) Set out like a normal steel roof – but be neater
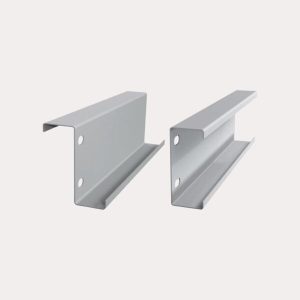
You still set out from a square reference, check purlin centres, and work to the manufacturer’s recommended overlap. The difference is that you need to keep the fleece tidy at joints.
Side laps should close properly without bulky fibres trapped where the sheets need to sit tight. If fibres are bunched up in the lap, you can create a capillary path for water, or simply stop the lap sealing as designed.
2) Keep laps and fix points dry and clean
If you are fitting in bad weather, do not let muddy boots, wet gloves and general site grime build up on the fleece at the lap. The fleece is designed to absorb condensation, not to act as a sponge for rainwater while the roof is half open.
If sheets get wet during install, that is fine – it happens in the UK – but make sure the roof is closed up promptly so the building can start to dry out naturally.
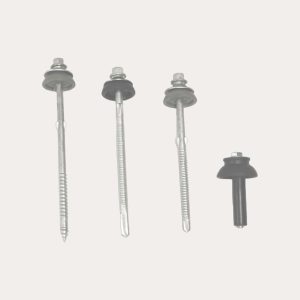
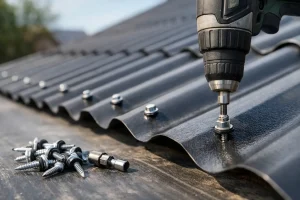
3) Use the correct fixings and don’t overdrive them
Fixings matter more than people think. Overdriven screws crush washers, distort the sheet and can create tiny low points where water sits. Underdriven screws can leave washers not fully seated.
Use the right type and length of self-drilling fastener for your sheet thickness and purlin material (timber or steel). Fit the washer square, tighten until it is seated and just compressed, then stop. Good fixing practice keeps the external weather out – which reduces how hard the fleece has to work underneath.
4) Treat cut edges and penetrations with care
You will often need to trim a sheet at the ridge or at a verge, or cut around a flue. Cutting creates two issues: exposed steel edges (corrosion risk) and an open fleece edge (drip risk).
Make clean cuts using snips or a nibbler where possible. Avoid abrasive discs if you can, as hot swarf can embed and rust. After trimming, remove loose fibres and ensure the fleece is not hanging proud into a detail where it will wick water.
Where you have penetrations, aim for proper formed flashings and tight weathering on the top side. Dripstop is not a substitute for correct roof detailing.
The details that make the difference
Eaves: plan where the moisture will go
At the eaves, you want any moisture held in the fleece to dry out, not to sit and build up. If the building has airflow, the eaves zone is often where drying happens fastest.
Be careful not to sandwich the fleece tightly against a closure in a way that prevents air movement altogether. Also ensure your gutters and eaves flashings are doing their job – external water tracking back is not “condensation”, and it will overwhelm any anti-condensation layer.
Ridge: don’t block ventilation by accident
Many simple roofs rely on natural ventilation at the ridge, even if it is just small gaps around ridge details. If you fully seal the ridge without thinking, you can reduce the roof’s ability to dry.
That does not mean you leave it open to the weather. It means you choose ridge details and closures that keep rain out while still allowing the building to breathe where the design expects it.
Side laps and sealants: “it depends”
Some jobs call for side-lap stitching screws or sealant at laps, particularly on low pitches or exposed sites. On other roofs, a standard lap is fine.
The trade-off is this: extra sealing can improve weather resistance, but it can also reduce airflow through the roof build-up. If you are unsure, it is better to spec the roof correctly for exposure and pitch rather than trying to compensate later with lots of sealant.
Common mistakes we see (and how to avoid them)
The most frequent issue is assuming Dripstop replaces ventilation. It helps manage condensation, but it still needs the building to dry out between wet cycles. If you are storing wet timber, parking a dripping vehicle, or housing animals, you will always benefit from purposeful ventilation.
Next is rough handling. A torn fleece around the eaves or a ripped patch near a lap is where drips reappear. Treat the underside as a functional surface, not packaging.
Another is poor set-out. If the roof runs out of square, you end up forcing overlaps and creating gaps. That can lead to wind-driven rain ingress, which gets blamed on “condensation”.
Finally, watch for mixing incompatible details. For example, trying to retrofit an internal membrane beneath Dripstop without understanding vapour movement can trap moisture rather than manage it. If you need a designed warm roof build-up, step up the specification rather than layering products and hoping.
Ordering and project planning: get everything together
Dripstop roofs are straightforward when the job is planned. Where projects slow down is waiting for the right fixings, closures or flashings after the sheets arrive.
If you are buying sheets, make sure you also line up ridge pieces, verge and eaves flashings, foam fillers where required, and the correct fasteners for your purlins. That is exactly the kind of one-order approach we support at Roof Sheets Online Ltd – it keeps your install moving and avoids the common “nearly finished” delays.
When Dripstop is the right choice
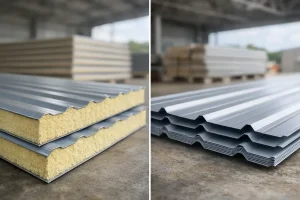
If you are roofing a garage, workshop, agricultural store, stable or general-purpose outbuilding, Dripstop is often the most cost-effective step up from standard single-skin steel. You get a cleaner underside, far fewer drips, and better protection for what is underneath without the cost and complexity of insulated systems.
If you need temperature control, compliance for habitable use, or you are trying to eliminate condensation risk in a high-moisture environment, you may be better looking at insulated panels or a fully specified roof build-up. That is not a failure of Dripstop – it is simply choosing the right tool for the job.
A good roof is one you do not have to think about after it is fitted. Take your time on the set-out, keep the fleece tidy, and make sure the building can breathe – and you will feel the difference the first time the weather turns.