A roof sheet can look perfectly aligned and still leak if the fixings are wrong. A screw driven too tightly can split its sealing washer; one left proud can allow wind-driven rain beneath it. Learning how to fit roof fixings properly is therefore not a finishing detail – it is what holds the complete roof system together through heavy rain, high winds and seasonal movement.
For a shed, stable, garage, workshop or agricultural building, the correct approach starts before the first sheet goes on. Match every fixing to the roof sheet, supporting structure and manufacturer’s installation guidance. This gives you a clean, secure, weather-resistant finish that performs for the long term.
How to fit roof fixings: get the specification right first
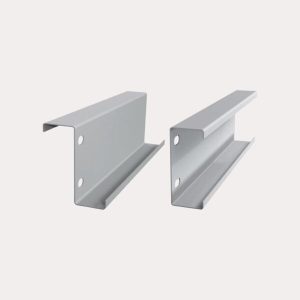
Roof fixings are not one-size-fits-all. The right screw depends on whether you are fixing into timber purlins, light steel purlins or heavier steelwork, as well as the sheet profile and insulation build-up. Using a timber screw in steel, or a screw that is too short to achieve a proper purchase, can leave the roof vulnerable to uplift and leaks.
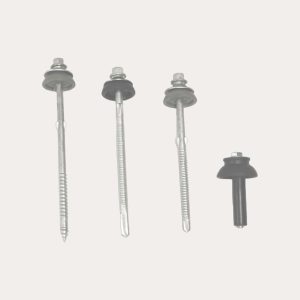
For most metal roof sheets, use purpose-made self-drilling roofing screws with a bonded EPDM sealing washer. The washer creates the watertight seal around the fixing point, while the screw is designed to penetrate and hold in the substrate. Choose a corrosion-resistant finish suitable for the site and roof material. Coloured heads are useful where appearance matters, helping the fixings blend neatly with the sheet colour.
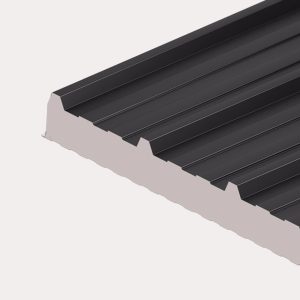
The screw length must allow for the sheet depth, any insulation or spacer system, and enough penetration into the purlin. With insulated panels, this calculation is particularly important. A screw that only reaches the face of the support will not provide the structural hold required. Equally, an unnecessarily long fixing can be difficult to install and may interfere with services or linings below.
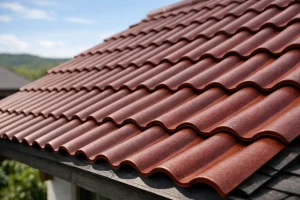
Fibre cement sheets require a different method. They are generally pre-drilled and fixed with the specified fasteners, washers and, where required, hooks or bolts for the supporting structure. Do not force a self-drilling metal roofing screw through fibre cement unless the system manufacturer specifically permits it. The material can crack if treated like steel sheeting.
Set out the roof before fitting sheets
A straight, square roof frame makes fitting simpler, but it is still worth checking the layout. Measure the roof width and length, confirm the purlin spacing, and make sure the first purlin sits in the correct position at the eaves. Check that the frame is level and that the purlins are aligned. A bowed purlin can pull sheets out of line and leave uneven overlaps.
Have all components ready before starting: sheets, matching roof screws, ridge and verge flashings, filler closures where required, sealant tape, stitching screws for side laps, and the correct driver bit. This avoids trying to improvise once sheets are in place. It also helps ensure every penetration through the roof is properly sealed and finished.
Work from the eaves towards the ridge, and begin at the end of the roof that keeps side laps facing away from the prevailing wind. On many UK sites this means considering the usual south-westerly weather, but the building position and local exposure matter more than a rule of thumb. The aim is to prevent wind from driving rain into the lap.
Position each roof screw in the correct place
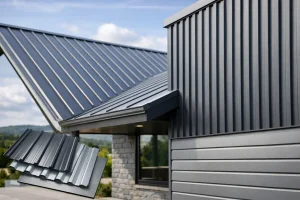
The location of the fixing on the profile matters. For box profile and corrugated metal sheets, follow the sheet manufacturer’s recommendation on whether screws should be fitted through the crown or the valley. This varies by profile and system. Guessing can compromise both weathering performance and the sheet’s ability to sit firmly on the purlin.
Place the sheet square to the eaves, allowing the required overhang into the gutter. Start by securing it lightly at the eaves and ridge positions, then check that the sheet is straight before completing the remaining fixings. Once a run of sheets has been fully tightened, correcting a skewed first sheet becomes much harder.
Fixing patterns also vary with sheet type, roof pitch, purlin centres, building height and wind exposure. Edge zones, corners and areas around openings are often subject to greater wind loads and may require closer fixing centres than the middle of the roof. Always use the fixing schedule supplied for the particular roof system rather than relying on a generic number of screws per sheet.
As a practical principle, each fixing must pass through the sheet and into the centre of the purlin. Missing the purlin leaves a visible screw but no structural support. If this happens, remove the misplaced fixing, seal the redundant hole with an approved repair method, and fit the correct fixing into sound material. Do not simply leave the hole exposed.
Drive screws square, not at an angle
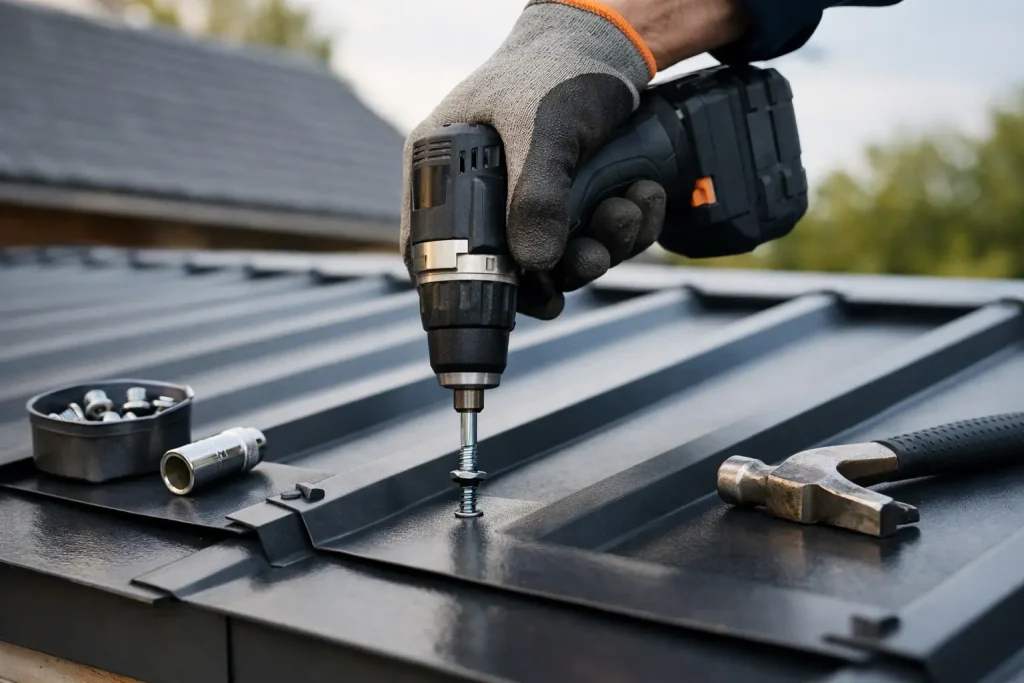
Use a drill driver with an adjustable clutch or torque setting and keep it perpendicular to the roof sheet. Driving screws at an angle distorts the washer and creates an uneven seal. It can also scratch the sheet coating, especially if the socket slips.
The correct finish is firm but controlled. The EPDM washer should compress enough to sit snugly against the sheet, without bulging out from beneath the metal washer. If it is barely touching the sheet, water can track under it. If it is crushed flat or squeezed beyond the washer, it may split, perish early and lose its weatherproof seal.
It is worth testing the setting on an offcut before fitting the full roof. A small adjustment to the drill clutch can make the difference between consistently secure screws and damaged washers across every sheet.
Seal laps and details as part of the fixing process
Roof screws secure sheets to the structure, but they are only one part of a weatherproof roof. Side laps and end laps must be formed exactly as required for the profile, roof pitch and building use. Low-pitch roofs, exposed locations and buildings where condensation control is critical often need more careful sealing than a simple open-sided shelter.
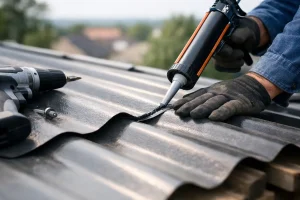
Use suitable sealing tape or butyl strip where the system calls for it, applying it to clean, dry sheet surfaces before closing the overlap. Stitching screws are commonly used to pull metal sheet side laps together between purlins. These are shorter than the main roof screws because they join sheet to sheet rather than sheet to structure.
Avoid over-fixing side laps. Too many unnecessary holes mean more potential leak points, while poorly aligned stitching screws can deform the sheets. Keep the lap tight, straight and properly sealed, then use the recommended fixing centres.
Flashings deserve the same care. Ridge, barge and eaves details are where water management is most visible, but also where rushed installation often causes problems. Fit closure fillers where specified to block draughts, insects and wind-driven rain beneath profiled sheets. Secure flashings without flattening them, and make sure all overlaps shed water down the roof rather than into the building.
Common roof fixing mistakes to avoid
The most expensive errors are usually small ones repeated across the roof. Avoid using general-purpose screws without sealing washers, mixing incompatible metals, or fitting old and weathered fixings from a previous job. Do not drill holes larger than necessary, as an oversized hole may not seal even with a good washer.
Take care not to walk directly on unsupported sheet spans. Metal sheets can dent and fibre cement sheets can crack. Use suitable roof ladders, crawling boards or access equipment, and work safely from properly secured access wherever possible. Roofing work involves height, sharp edges and unstable surfaces, so assess the job carefully and use the appropriate PPE.
Finally, inspect every completed run before moving on. Look along the sheet line for proud screws, crushed washers, missed purlins, uneven laps and damaged coatings. Remove swarf from drilling immediately. Metal filings left on a roof can rust and stain the sheet surface, even where the main coating is in good condition.
A better finish starts with the complete system
Correct roof fixings are a modest part of the overall material cost, yet they have a major influence on service life. Buying sheets, screws, sealants, fillers and flashings as a matched system reduces the risk of incompatible components and last-minute substitutions on site.
If you are unsure which fixing length, washer type or pattern suits your project, have the sheet profile, purlin material, roof pitch and insulation thickness to hand before ordering. The team at Roof Sheets Online can help you specify the right supporting components alongside your sheets, so the roof arrives ready for a clean, confident installation. A few minutes spent checking the fixing detail before work starts is far easier than tracing a leak after the first hard downpour.