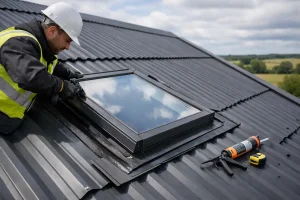
A leaking lap usually shows up long before the rest of the roof gives trouble. You see a damp line under a side lap, a drip at the end overlap, or staining around fixings, and the problem is nearly always the same – the overlap was never sealed properly, or the wrong product was used. If you need to seal overlaps on roof sheets, getting that detail right matters just as much as choosing the sheet itself.
On garages, workshops, stables, agricultural buildings and light industrial roofs, the overlap is where weather resistance is won or lost. Wind-driven rain will always test the weakest point first. A well-laid sheet profile with the correct lap tape or sealant gives you a tight, durable finish. A rushed job can leave you chasing leaks, condensation issues and premature sheet movement.
Roof sheets are designed to shed water down the profile and away from the building. That only works properly when the side laps and end laps are formed to suit the roof pitch, sheet profile and exposure level. The overlap is not there to hide a gap. It is there to create a controlled weatherproof junction.
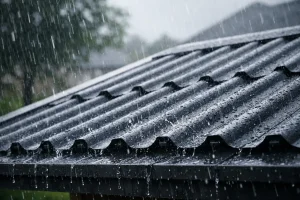
On shallow pitches, exposed sites and longer sheet runs, sealing becomes even more important. Rain can be driven sideways and upwards under the lap by wind pressure. In those conditions, relying on overlap alone is asking too much. A suitable butyl lap tape or profile-specific sealing method helps stop water tracking back into the roof build.
There is also a durability point here. Persistent moisture at poorly sealed overlaps can contribute to staining, corrosion around cut edges and damp insulation or linings below. Fix the detail once and the whole roof performs better.
Most lap failures come back to one of a few site issues. The first is using the wrong sealing product. General-purpose silicone is often treated as a cure-all, but it is rarely the best choice for profiled roofing sheets. It can smear, fail to compress evenly and degrade faster than a proper non-setting or butyl-based lap seal.
The second is poor sheet alignment. If the sheets are not sitting correctly on the purlins, the side lap will not close consistently. One area may pinch tight while another leaves a fine channel for water ingress.
The third is contamination. Dust, swarf, surface moisture and oil can all stop a tape or sealant from bonding as intended. Even a quality seal will struggle on a dirty sheet.
Then there is simple under-specification. On a steeper roof in a sheltered spot, one approach may be perfectly adequate. On a low-pitch canopy in a windy coastal location, the same detail may not be enough. This is where trade judgement matters.
The right method depends on the profile, pitch and sheet material, but the principle is consistent. You want a clean, continuous seal located where compression will occur once the sheets are fixed.
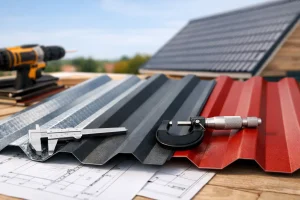
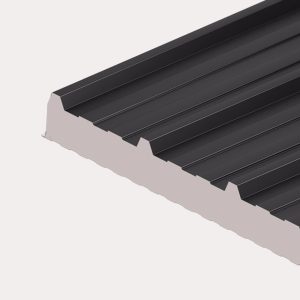
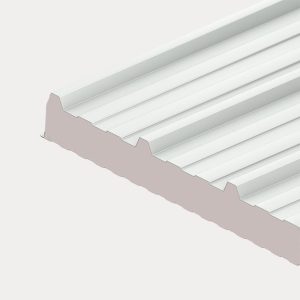
Before any tape or sealant goes down, confirm the manufacturer’s lap requirements for your sheet profile. Box profile, corrugated and fibre cement do not all behave in the same way. Side lap width, end lap length and fixing positions can vary. Insulated panels are a different category again, with their own joint systems and sealing requirements.
If the roof pitch is close to the minimum recommended for the sheet, be more careful, not less. This is where correct overlap detailing earns its keep.
The lap area needs to be clean and dry. Wipe off dust, loose particles and any debris from cutting. If metal swarf is left sitting on coated sheets, it can cause rust staining, so clear it away fully. Do not apply lap tape over a wet or visibly dirty surface and expect a reliable seal.
It is also worth checking for damage. A bent edge, distorted profile or poorly handled sheet can stop the overlap from seating evenly. If the sheet is misshapen, sealing products will not rescue the fit.
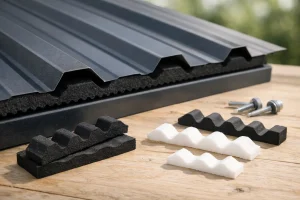
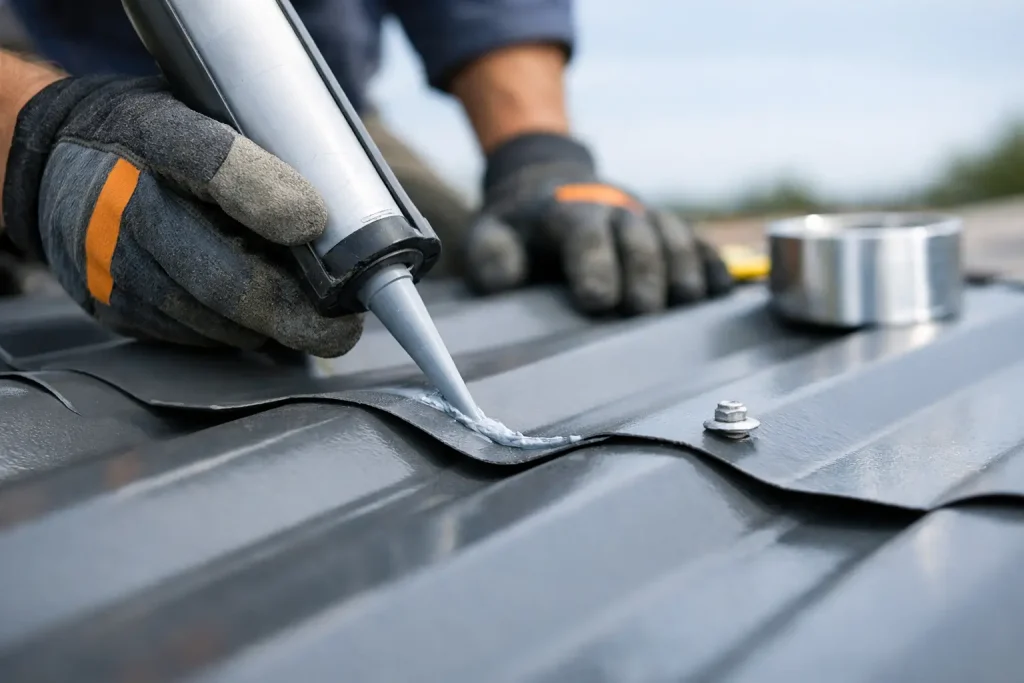
For many profiled metal roofing applications, butyl lap tape is the straightforward choice. It stays flexible, compresses well between sheets and creates a dependable barrier without going brittle. Applied correctly, it gives a much neater and more consistent result than trying to run a heavy bead of mastic by eye.
Position the tape so it sits within the area of compression, not hanging into a drainage path and not so far inboard that water can travel behind it. On end laps, that usually means following the recommended fixing and seal line for the profile. On side laps, it should sit where the upper sheet will press firmly onto the lower one.
If the roof specification calls for multiple seal lines, especially on lower pitches, follow that requirement. This is not the place to cut corners to save a few pounds in consumables.
Once the tape is applied, bring the next sheet into position carefully. Avoid dragging it across the tape, as that can stretch or displace the seal. Set the sheet square, align the profile properly and fix it according to the sheet layout.
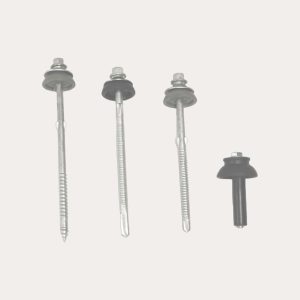
Compression matters. Too little and the seal will not close. Too much in the wrong place and you can deform the sheet profile or crush the lap unevenly. Correct fixings, with the right washers and spacing, are part of the sealing system whether people think of them that way or not.
End laps deserve extra care because they see direct water flow. On longer sheet runs where a full-length sheet is not possible, the upper sheet must overlap the lower sheet by the required amount for the pitch. The seal needs to sit where driven rain cannot work back uphill under the lap.
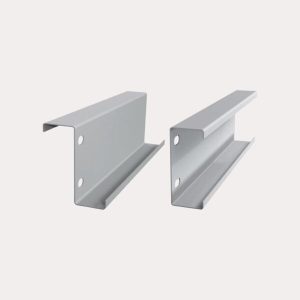
This is also where support below the lap is important. If the overlap is left unsupported or badly positioned in relation to the purlins, movement can break the seal over time. A tidy lap on day one is not enough. It needs to stay tight after weather, thermal movement and years of service.
It is easy to overdo sealing. More mastic does not automatically mean a better roof. In fact, badly placed sealant can trap water, interfere with drainage and make future maintenance harder. Roof sheets are meant to shed water efficiently. The seal should support that, not obstruct it.
There is also a difference between stopping rain ingress and trying to solve condensation with lap sealant. If moisture is forming on the underside of the roof because of poor ventilation or temperature difference, sealing overlaps will not fix the root cause. Anti-condensation backing, insulation, ventilation and correct roof design all have their place.
This matters on animal housing, workshops and garages in particular, where internal moisture loads can be higher than expected. A dry lap detail is one part of a weatherproof roof, not the whole answer.
A few mistakes come up again and again. One is using whatever sealant happens to be in the van. Another is missing sections of tape around profile crowns or troughs, leaving a broken seal line. Another is fitting sheets out of square, then forcing the lap together with fixings.
Cutting end lap lengths short is another false economy. So is mixing incompatible accessories. Roof sheets perform best when the fixings, tapes, flashings and closures are chosen to suit the profile and application.
That is why buying the sheets alone is rarely the smartest route. A complete order with the correct accessories gives you a much better chance of getting the roof weatherproof first time, without repeat visits or patch repairs.
There is no single rule that covers every build. A small garden workshop with a decent pitch and short sheet lengths is more forgiving than a large agricultural roof exposed to prevailing weather. Fibre cement behaves differently from steel. Insulated panels have joint systems designed around thermal and vapour performance, not just rain exclusion.
If you are replacing a few sheets on an older roof, matching the original profile and lap arrangement can also be a factor. New sealant on an old, uneven lap may improve things, but if the sheets are worn, distorted or badly fixed, the better fix may be a more extensive repair.
That is where practical advice saves time. The right answer is based on profile, pitch, location, support spacing and what sits beneath the sheets.
A reliable roof build is about more than sheets arriving on site. You need the supporting parts as well – suitable lap tape, correct fixings, flashings, fillers and the details that tie everything together. Missing one small component can hold up the whole install or leave a weak point that only shows itself in bad weather.
At Roof Sheets Online, that is exactly why the one-stop-shop approach matters. Trade buyers and competent DIY customers can get the sheets, accessories and technical guidance lined up in one order, with delivery confirmed and support available if the specification needs checking.
If you are planning a new roof or sorting a refurbishment, treat overlap sealing as a core detail, not an afterthought. A clean fit, the correct tape and proper fixing practice will give you a roof that stays weatherproof for the long haul – and if you are unsure which products suit your sheet profile, it is worth asking before the first sheet goes up.
Roof Sheets Online Ltd
UNIT C4
MACROME ROAD
Wolverhampton
WV6 9HD
Company No 15150940
Vat No. 4880 70856