A roof can look properly finished from ground level and still leak at the first spell of driving rain. In most cases, the problem is not the sheet material – it is the lap. This roof sheet overlap guide explains how to set side laps and end laps correctly, where to place fixings, and when sealing tape is needed for a dependable, weatherproof roof.
The exact overlap depends on the sheet profile, roof pitch, building location and whether the roof is exposed to prevailing wind. Always check the fitting guidance for your chosen product, particularly with insulated panels, fibre cement sheets and rooflights. The principles below will help you specify the right sheets and accessories before installation starts.
Every overlap is a controlled route for water to travel off the roof. When sheets are laid in the correct direction, supported where needed and fixed securely, rain runs over the lap and into the gutter. Get the direction, width or fixing position wrong and wind can force water beneath the sheet.
A proper lap also controls movement. Metal sheets expand and contract with temperature changes, while fixings and stitchers keep adjoining sheets tight without distorting the profile. This is especially relevant on long runs of box profile or corrugated sheeting, where a small error at the first sheet can become a visible misalignment at the ridge.
There are two overlaps to plan: the side lap, where sheets meet along their length, and the end lap, where one sheet overlaps another down the roof slope. One-piece sheets that run from ridge to eaves avoid end laps altogether, which is often the cleanest and most weather-resistant option where sheet length and site access allow it.
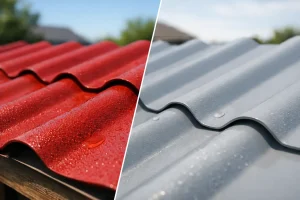
A side lap is normally formed by overlapping one corrugation or one profile rib, depending on the product. With corrugated sheets, this is generally one full corrugation. Box profile sheets have a designated overlap detail, often using the outer edge of the profile to nest neatly with the next sheet. Do not assume all profiles lap in the same way – mixing sheets from different profiles or manufacturers can leave an unreliable joint.
Start at the eaves on the side of the roof opposite the prevailing wind. Each new sheet should overlap the previous one so the exposed edge faces away from the weather. On many UK buildings this means working from right to left or left to right depending on the roof orientation, not simply following a preferred working direction.
The lap should sit flat from eaves to ridge. If it rocks, leaves a gap or requires excessive force to close, stop and check the purlin spacing, sheet alignment and profile compatibility. Forcing the joint down with fixings can crease the sheet and create a path for water.
Side-lap stitchers secure adjoining sheets together between purlins. They are particularly useful on metal roofing where wind uplift could open the lap, and on roofs in exposed locations. Stitching screws are shorter than main roof fixings because they join sheet to sheet rather than sheet to timber or steel.
Spacing will vary by product and exposure, but stitchers are commonly installed at regular intervals along the side lap, with closer spacing near eaves and ridges where wind pressure is greatest. Use the fixing pattern specified for the sheet system rather than placing them by eye. A tidy, consistent line also gives the roof a far more professional finish.
End laps are more vulnerable than side laps because water flows directly over them. The flatter the roof, the further rain can track back under the upper sheet in strong wind. That is why a low-pitch roof needs a longer end lap and more careful sealing than a steeper agricultural or garage roof.
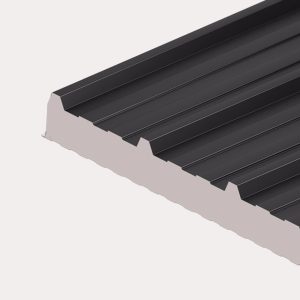
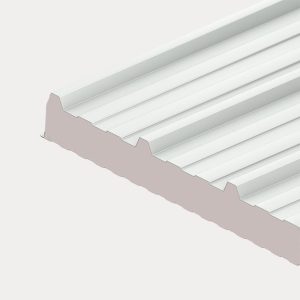
As a general starting point, many single-skin metal sheet installations use an end lap of around 150 mm on suitable pitches. Shallower roofs, highly exposed sites and certain profiles may require 200 mm or more. Some products have a minimum roof pitch that must not be exceeded, regardless of how much overlap is added. Insulated composite panels and fibre cement sheets have their own system details and should always follow the manufacturer’s requirements.
Every end lap must be supported by a purlin, rail or other suitable structural member. Never leave an end lap floating between supports. Aside from allowing the joint to flex under foot or wind load, an unsupported lap can loosen fixings and eventually crack a seal.
When laying sheets, position the upper sheet over the lower sheet so water flows down the roof face. Check that the overlap is consistent across the full width before fixing. A lap that is 200 mm at one side and 100 mm at the other is likely to cause trouble, even if the joint initially appears closed.
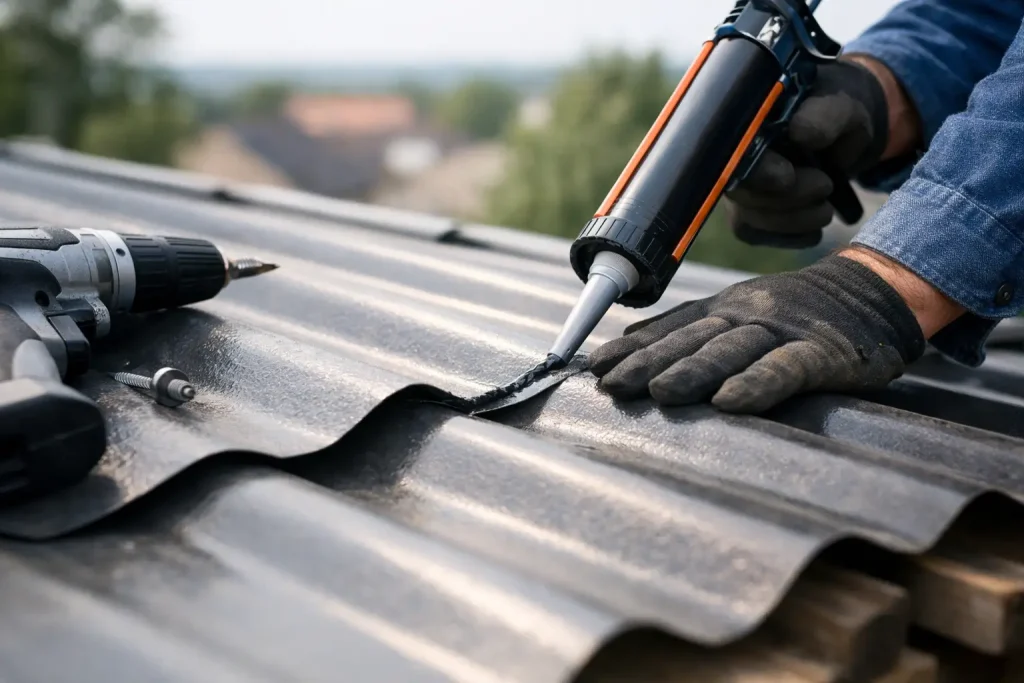
Butyl sealant tape is a practical safeguard at laps where wind-driven rain, roof pitch or building use demands a higher level of protection. It is commonly used at end laps, side laps on low-pitch roofs, around rooflights and at details where sheets meet flashings. Unlike general-purpose mastic, butyl tape stays compressed within the joint and provides a controlled seal.
Apply the tape to a clean, dry surface before bringing the upper sheet into position. Keep it in a continuous line and avoid stretching it. At corners and intersections, make sure the tape closes the route water could follow. A short missing section can defeat an otherwise well-installed lap.
More sealant is not automatically better. Over-applying mastic can prevent sheets from seating correctly, make future repairs difficult and leave a messy finish. Use the specified tape type, width and position for the sheet system.
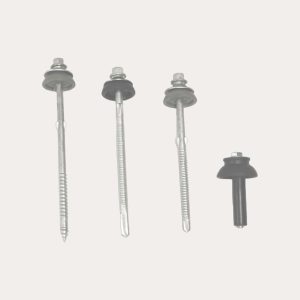
Roofing screws need to suit both the sheet material and the structure beneath it. Timber purlins require timber fixings, while steel purlins need self-drilling steel fixings of the correct gauge and length. Each should include a suitable sealing washer, tightened enough to seal but not so hard that the washer spreads or the sheet dents.
For most profiled metal sheets, main fixings are installed through the crown of the profile where the manufacturer specifies it. This keeps the fixing point above the main water flow and provides a stronger bearing point. Fibre cement and some specialist systems use different methods, so do not transfer a metal-sheet fixing pattern to another material.
At an end lap, fix through both sheets into the supporting purlin using the recommended pattern. At side laps, use stitchers where required. Keep fixings square to the sheet. Screws driven at an angle can distort the washer and leave a gap that is difficult to spot until rain finds it.
Good overlap planning starts with the roof dimensions, not the number of sheets you think will fit. Measure the rafter length from eaves to ridge and allow for the required eaves overhang, ridge detail and any end laps. Measure the width across the roof, then use the sheet’s cover width – not its overall width – to calculate how many sheets are needed.
If you need sheets longer than can be safely handled on site, using end-lapped sheets may be the practical answer. The trade-off is extra purlins, more fixings, sealant tape and additional time fitting the laps. For a small garage or shed, full-length sheets are often simpler. On a larger agricultural or commercial roof, manageable sheet lengths and correctly detailed end laps can make installation safer and easier.
Also allow for the complete roof build. Ridge flashings, barge flashings, eaves fillers, foam fillers, closures, stitchers and colour-matched fixings are not finishing extras. They protect the vulnerable edges where overlaps alone cannot keep out wind, insects and blown rain.
Rooflights should match the profile and cover width of the surrounding roof sheets. Their side and end laps need the same attention as the main roof, but they may need additional support and a specific fixing arrangement because translucent materials expand differently from steel. Overtightening can crack a rooflight, while undertightening can allow movement and leaks.
Where roof sheets meet a wall, valley, ridge or change of pitch, the flashing detail takes over from the standard overlap. Use a purpose-made flashing with compatible closures and sealant, rather than trying to bridge the gap with offcuts. These areas receive concentrated water flow and deserve a properly formed, supported detail.
Before fitting ridge flashings, stand back and inspect every run of sheets. Check that side laps face away from the prevailing wind, end laps are even and supported, and no fixing washers are pinched, split or visibly over-compressed. Clear swarf from metal sheets as you work, as steel drillings can rust and stain the finish.
A watertight roof is built from small, repeatable details. If you are unsure about overlap requirements for a particular profile, pitch or insulated system, confirm the specification before placing the order. Roof Sheets Online can help you bring together the correct sheets, fixings, sealants and flashings, so the roof arrives ready to be fitted properly.
Roof Sheets Online Ltd
UNIT C4
MACROME ROAD
Wolverhampton
WV6 9HD
Company No 15150940
Vat No. 4880 70856