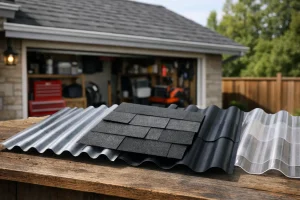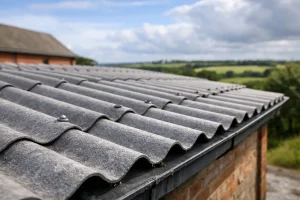
A rooflight sheet may look like a straightforward swap for a steel roof sheet, but it needs different treatment at the fixing point. If you are asking what fixings for rooflights are required, the short answer is rooflight-specific fasteners with suitable weathering washers, selected to suit both the sheet profile and the structure underneath. The longer answer matters, because using the wrong screw, washer or fixing pattern can crack the sheet, cause leaks or leave the rooflight vulnerable in high winds.
Rooflights expand and contract more than metal roofing sheets as temperatures change. They are also more susceptible to damage from over-tightening. Getting the details right gives you a bright, weatherproof roof that performs properly for years.
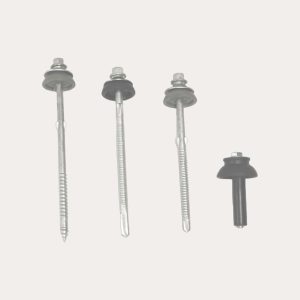
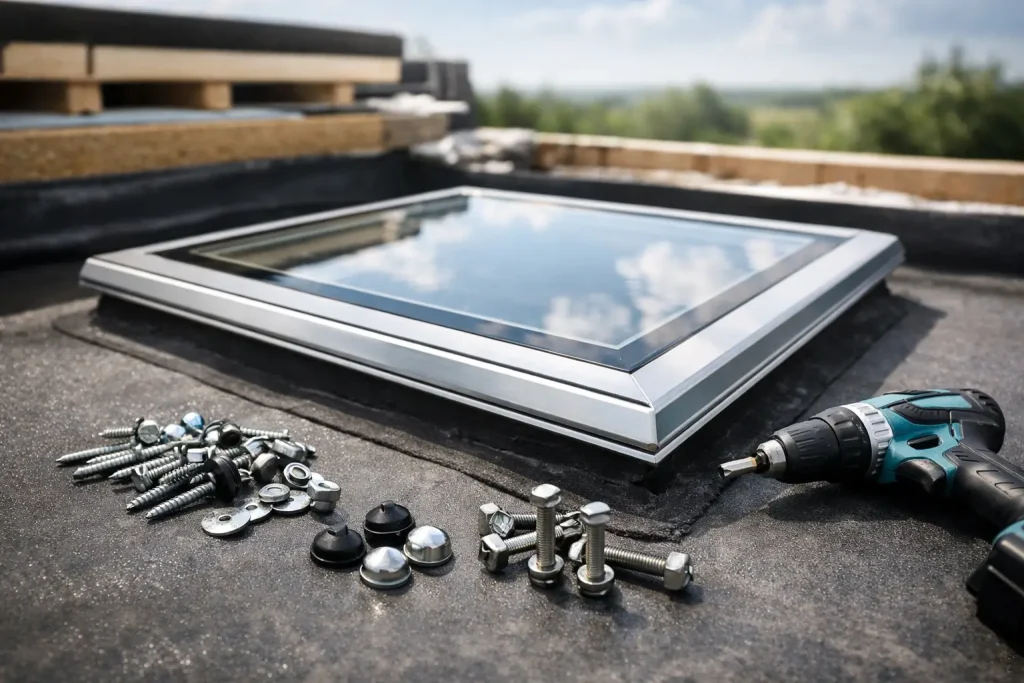
For most profiled GRP rooflights, use self-drilling or self-tapping roofing screws fitted with large-diameter weathering washers. The screw itself must be appropriate for the supporting structure – timber screws for timber purlins, or self-drilling TEK-type screws for steel purlins. The washer is just as important as the screw. It spreads the load across the rooflight sheet and provides the weatherproof seal around the fixing.
Standard small roofing washers are not always suitable for translucent sheets. Rooflight fixings are commonly supplied with larger, load-spreading washers, often around 29mm in diameter, alongside an EPDM sealing washer. This reduces local stress around the hole and helps prevent cracking when the sheet moves with temperature changes.
The correct fixing is therefore a combination of three things: a screw matched to the purlin material, enough length to gain secure penetration into that purlin, and a washer designed for rooflight installation. Buying all roof components from one specialist supplier helps avoid a common problem – fitting a rooflight profile that matches the sheet visually, but using incompatible fixings or seals.
Before ordering, establish what sits beneath the rooflight. Timber roofs and steel-framed buildings require different screws, even where the roof sheets and rooflight profile are the same.
For timber purlins, choose a screw with a sharp point and a thread designed to bite securely into wood. The screw must pass through the rooflight and gain sufficient purchase in sound timber. If existing purlins are split, rotten or undersized, changing the fixing will not solve the problem – the support needs attention first.
For steel purlins, use self-drilling screws rated for the steel thickness involved. A light-gauge purlin and a heavier steel section may need different drill points and fixing lengths. Do not assume that a longer screw is automatically better. Excess length can be awkward beneath the roof, while an unsuitable drill point may fail to form a clean hole or deliver a reliable hold.
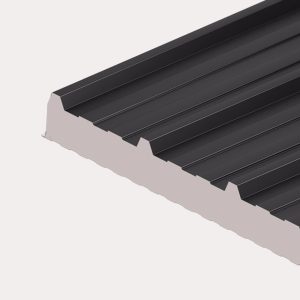
Insulated roof panels need a more specific approach. Their fixing length is calculated around panel thickness, support depth and required penetration. If an insulated rooflight is being fitted within an insulated panel system, use the fixing specification supplied for that system rather than treating it like a single-skin GRP sheet.
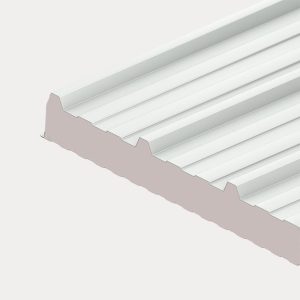
A corrugated rooflight must match the corrugation pitch and shape of the existing or adjoining corrugated sheets. A box profile rooflight must match the exact box profile. Even small differences in crown shape, rib position or sheet cover width can compromise side laps and make it difficult to form a dependable weather seal.
This affects fixing placement too. On most profiled roofing systems, fixings pass through the crown of the profile where the sheet is supported by the purlin. Fixing into unsupported areas, or forcing a sheet down to meet a purlin that does not align with the profile, puts unnecessary strain on the rooflight.
If you are replacing a damaged rooflight in an older building, measure the profile carefully rather than relying on a description such as “corrugated” or “box section”. A clear photo, sheet dimensions and profile measurements can save time and prevent an expensive mismatch.
GRP rooflights move more with heat and cold than steel sheets. This is why installers commonly pre-drill clearance holes in rooflights before fixing. The hole needs to be slightly larger than the screw shank, allowing controlled movement without the sheet binding around the screw.
The exact hole size and fixing arrangement should always follow the rooflight manufacturer’s installation guidance. It depends on sheet type, length, roof pitch, building location and the particular profile. This is not a place for a one-size-fits-all rule.
Do not drive a self-drilling screw straight through a rooflight as though it were steel cladding. It can create a tight, stressed hole, chip the material or start a crack that only becomes visible after several weather cycles. Pre-drilling cleanly, with proper support below the sheet, gives a much better result.
Just as importantly, do not over-tighten the fixing. Tighten until the washer is seated and weatherproof, not until it is crushed flat. An over-compressed washer can distort the rooflight and restrict movement. The aim is firm, even contact – not maximum pressure.
The number of fixings is determined by more than the length of the rooflight. Wind exposure, roof pitch, building height, purlin centres and the manufacturer’s recommendations all influence the required pattern.
As a rule, rooflights need secure support at every purlin line and should follow the fixing pattern specified for the corresponding roof sheet. Areas around sheet ends, overlaps and roof edges can be exposed to greater wind uplift, so they often require closer attention. A rooflight fitted over a stable run of sheets in a sheltered garden workshop may have different demands from one installed on an exposed agricultural building.
Never bridge a rooflight across an excessive purlin span simply because the sheet reaches from one support to the next. The material must be rated for that span and installed to the approved support centres. Too much unsupported distance allows flexing, which can fatigue the sheet and work fixings loose over time.
Where rooflights run in a strip, check the whole layout before starting. The purlins must line up consistently, side laps must sit correctly and the rooflight should not be carrying the load of an uneven adjacent sheet. A neat fixing line is not just cosmetic – it shows that the sheet is properly supported.
A weatherproof rooflight installation relies on more than washers. Side laps and end laps need the correct sealing tape or sealant arrangement for the roof profile and pitch. Butyl mastic tape is widely used within overlaps because it remains flexible and creates a dependable seal when sheets are lapped correctly.
For low-pitch roofs, long sheet runs or particularly exposed sites, lap detailing becomes even more critical. Rainwater can track under poorly formed laps, and wind-driven rain will quickly find gaps that appear harmless in dry conditions. Make sure rooflights are installed in the correct direction of overlap, with upper sheets lapping over lower sheets so water sheds naturally down the roof.
Do not rely on silicone alone as a cure for poor alignment or an incorrect profile. Sealant is a supporting component, not a substitute for correct sheet matching, fixing and lap formation.
The most frequent issue is using ordinary roofing screws with undersized washers. They may initially hold the sheet down, but they concentrate pressure at the fixing point and make damage more likely. Using screws intended for the wrong substrate is another avoidable error, particularly when fitting steel-sheet roofing to timber purlins or the other way round.
It is also worth avoiding these costly shortcuts:
Take care when walking on a roof during installation. Rooflights should not be treated as a working platform. Use suitable access equipment, roof ladders or crawl boards, and follow safe working procedures throughout.
For a straightforward replacement or a new roof build, confirm the roof sheet profile, rooflight material, purlin type, purlin spacing and roof pitch before selecting your fixings. You should also measure the sheet length and note whether the site is particularly exposed to wind.
If you are unsure, it is better to check before the sheets arrive than to make do with whatever screws are in the van. Roof Sheets Online can help customers match rooflights, fixings, flashings and sealing accessories into one practical order, with trade-informed guidance where specification is unclear.
A rooflight is there to bring useful daylight into a stable, workshop, shed, garage or commercial roof. Fit it with the right load-spreading fixings, allow for movement and seal the laps properly, and it will do that job without becoming the weak point in the roof.
Roof Sheets Online Ltd
UNIT C4
MACROME ROAD
Wolverhampton
WV6 9HD
Company No 15150940
Vat No. 4880 70856