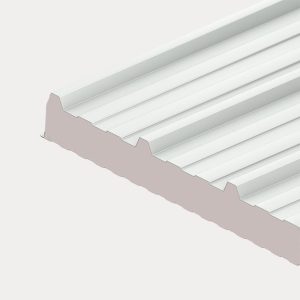
If you are pricing a roof build and the sheets are sorted, the next question usually lands on the structure underneath. That is where many projects stall. Choosing between Z and C purlins sounds like a small detail, but it affects span, fixing method, steel usage and how straightforward the installation will be on site.
For sheds, workshops, agricultural buildings and light industrial units, the choice is rarely about which section is better in every case. It is about which one suits the building layout, support spacing and loading requirements. Get that right and the whole roof system works harder for less. Get it wrong and you can end up over-specifying, under-specifying or creating unnecessary hassle during installation.
Z purlin vs C purlin – what is the difference?
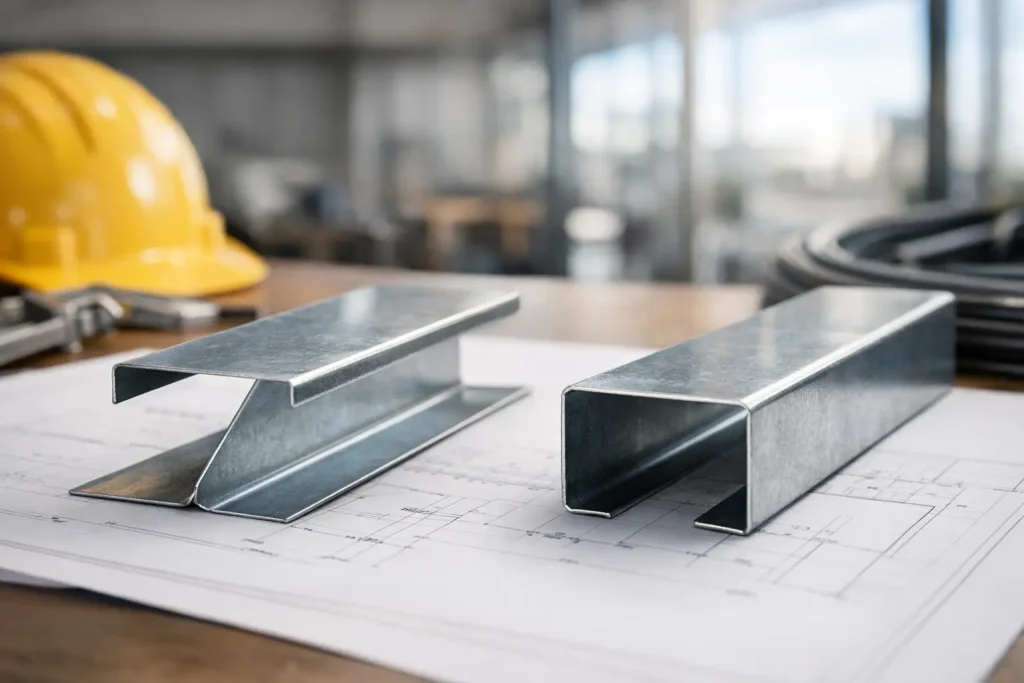
Both Z and C purlins are cold-formed steel sections used to support roof sheets and wall cladding. They carry loads from the external sheeting back to the main frame, helping the structure resist wind, rain, snow and day-to-day service loads.
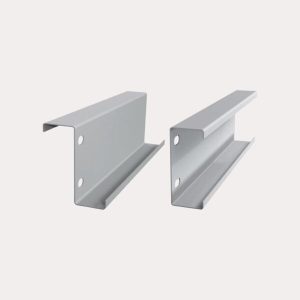
The difference is in the profile shape. A C purlin has a simple C-shaped section with parallel flanges. A Z purlin has a Z-shaped profile with flanges pointing in opposite directions. That change in shape affects how the sections lap, how they are fixed and how efficiently they perform over longer runs.
In practical terms, C purlins are often chosen where you want a straightforward section for shorter spans, wall rails, simple framing or individual members between supports. Z purlins are commonly used in larger roof systems because they can overlap at supports, creating continuity and improving structural efficiency.
Why profile shape matters on site
This is not just a drawing-office detail. The profile shape changes the way the purlins behave once they are installed.
A major advantage of Z purlins is that they nest and overlap neatly across internal bays. That overlap helps transfer load through the run rather than forcing each section to work entirely on its own. On bigger roofs, that often means better spanning performance and more economical steel design.
C purlins do not lap in the same way. They are usually used as single spans or as simple continuous members depending on the design, but they do not offer the same natural overlapping arrangement as Z sections. For straightforward structures, that simplicity can be a benefit. For larger roofs with multiple bays, it can make the design less efficient.
When a C purlin is the better choice
C purlins are popular because they are versatile, easy to handle and easy to understand. If you are working on a small or medium outbuilding, a garage, lean-to, canopy or wall cladding support system, a C section often makes complete sense.
They are also widely used for wall rails, eaves members and framing applications where lapping is not needed. If the structural design calls for shorter spans with direct fixing back to the frame, a C purlin can be the clean and cost-effective option.
There is also a practical site advantage. On smaller projects, installers often prefer simpler component layouts with fewer variables. C purlins can help keep the job tidy, particularly where the frame geometry is uncomplicated and access is tight.
That said, simple does not always mean cheaper overall. If the building gets wider, the bays get longer or the imposed loads increase, the section sizes required can rise quickly.
When a Z purlin comes into its own
Z purlins are usually the stronger candidate for longer multi-bay roof runs. Because they can overlap at supports, they work well in continuous systems and are often the go-to choice for portal frame buildings, agricultural sheds, industrial units and larger commercial roofs.
That overlapping arrangement can reduce bending moments and improve load sharing. In plain English, the roof structure can do more with less wasted steel. On the right project, that means a more efficient design and better value over the full run of the building.
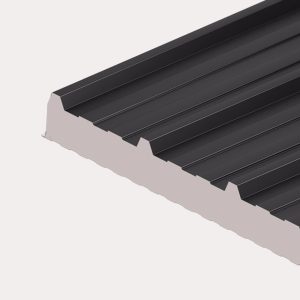
This is why Z sections are so common on larger spans and heavier-duty roof builds. If you are specifying purlins beneath metal sheets, insulated panels or other cladding systems across a broad roof area, Z purlins will often be the preferred section from a structural point of view.
They do, however, require proper design, correct lap lengths and accurate installation. The performance benefit only comes when the system is detailed and fitted correctly.
Z purlin vs C purlin for span and load
If your main concern is span, Z purlins usually have the edge. Their ability to lap over supports gives them an advantage in continuous roof systems, especially on buildings with repeated bays.
If your main concern is a simple section for moderate loads and shorter distances, C purlins are often perfectly suitable. They can still deliver excellent performance when properly sized, but they are usually not the first choice for maximising efficiency over long multi-bay spans.
The important part is to avoid guessing. Span tables, loading data and structural calculations matter here. Roof pitch, bay spacing, wind uplift, snow load, sheet type and bracket arrangement all affect what the section can safely do. A purlin that looks substantial on the ground may still be wrong for the job once the actual loading is applied.
Roofs, walls and mixed applications
On roofs, Z purlins are especially common because the lap arrangement suits repeated bay construction. On walls, C purlins are often used as side rails because they provide a practical and straightforward fixing member.
That is not a hard rule. Some projects use C sections in roof applications and Z sections in wall applications depending on design requirements. But as a general guide, if you are looking at a portal frame roof with multiple bays, Z purlins are usually the likely answer. If you are supporting wall cladding or dealing with a simpler framed section, C purlins often come into play.
For many buyers, the confusion starts when both options appear to fit the same project. That is where the finer detail matters – support centres, bracket types, cladding weight, rooflights, service loads and whether the building needs future flexibility.
Cost is not just the section price
It is tempting to compare Z and C purlins on section cost alone, but that rarely gives the full picture. The cheaper individual member is not always the cheaper installed system.
A Z purlin system may offer better steel efficiency across a larger roof, which can reduce material quantity or improve span performance. A C purlin system may reduce complexity on smaller builds, making fabrication and installation more straightforward. Labour, fixing details, transport length and the number of components all influence the final cost.
This is especially relevant when ordering a full roof package. Purlins need to work with the sheeting, flashings, fixings and any rooflights or insulated systems above. Buying in isolation can create avoidable delays if one part of the specification does not line up with the rest.
Common mistakes when choosing purlins
One of the most common mistakes is selecting by appearance rather than design data. Another is assuming that if one section worked on a previous job, it will automatically work again. Even buildings that look similar can have very different loading conditions.
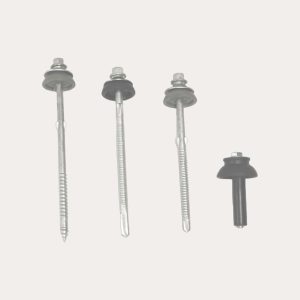
A second issue is ignoring the fixing arrangement. Bolt positions, cleats, laps and bearing details all need to suit the chosen section. That is why purlins should never be treated as an afterthought once the sheets are ordered.
The third mistake is underestimating the benefit of getting everything specified together. When the roof sheets, purlins, fixings and flashings are considered as one system, the project tends to move faster and fit better on site.
So, which should you choose?
If your project is a larger multi-bay roof where span efficiency matters, Z purlins are often the stronger option. If your build is smaller, simpler or more focused on straightforward framing and wall support, C purlins are often the practical choice.
But the honest answer is that it depends on the building. There is no universal winner in the Z purlin vs C purlin question because the right section depends on span, load, frame type and installation method. What works best for a stable block or farm shed may not be the right answer for a garage, workshop or industrial extension.
That is why trade buyers and competent self-builders tend to get the best result when they treat purlins as part of the full roofing system rather than a separate line item. At Roof Sheets Online, that is exactly how we help customers buy – with the sheets, flashings, fixings and structural components lined up properly, backed by practical support and reliable UK delivery.
If you are weighing up Z and C purlins for an upcoming build, the safest move is to match the section to the structure, not just the budget. A roof only performs as well as the support beneath it, so if you are unsure, ask the question before the order goes in.