A leaking end lap rarely starts with a dramatic failure. More often, it starts with a small shortcut – the lap is too short, the sealant line is misplaced, or the sheets are fixed before they are properly aligned. If you are learning how to install roof sheet end laps, getting this detail right matters because it directly affects weather resistance, sheet performance and the life of the roof.
End laps are used where one sheet length is not long enough to cover the full roof slope, so a second sheet overlaps the first lower sheet as it runs up the roof. Done properly, the lap sheds water cleanly and stays tight under wind and weather. Done badly, it can let in rain, trap debris and create callbacks you could have avoided.
What an end lap needs to do
An end lap is there to keep water moving down the roof without being driven back underneath the upper sheet. That sounds simple, but the detail depends on roof pitch, sheet profile and exposure. A shallow pitch generally needs more care than a steeper roof because water drains more slowly and is more likely to sit around the lap.
This is why end laps are not just about putting one sheet over another. The overlap length, the positioning of sealing tape or sealant, and the fixing pattern all work together. If one part is wrong, the full detail is compromised.
Before you install roof sheet end laps
Start with the sheet manufacturer’s recommended minimum pitch and lap requirements for the exact profile you are using. Box profile, corrugated, fibre cement and insulated panels all behave differently, and there is no single overlap dimension that suits every roof. As a guide, many metal roofing systems use an end lap of around 150mm to 250mm, but exposed sites and lower pitches may require more.
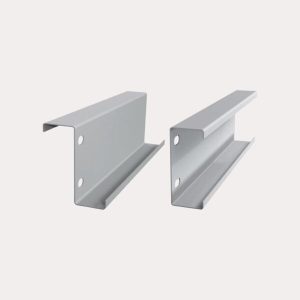
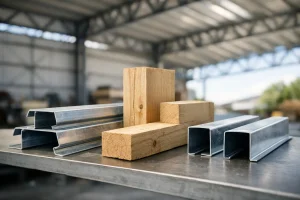
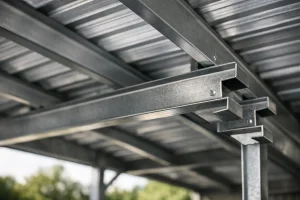
You also need to check that your roof support layout works with the lap position. Ideally, the end lap should be properly supported by a purlin or structural member beneath, especially on profiled metal sheets. Unsupported laps are more likely to flex, open up under load or make fixing difficult.
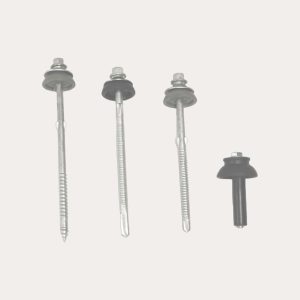
Before lifting sheets into place, have all the supporting items ready. That usually means stitching screws or lap fixings where required, primary fixings for the sheets, butyl lap tape or the specified seal, and any closures or fillers recommended for the profile. This is where buying the full system from one supplier makes life easier, because you are not trying to make mismatched components work on site.
How to install roof sheet end laps step by step
The first job is setting out. The lower sheet must be fixed in the correct position and square to the roof, because every sheet above it follows that line. If the first sheet is out, the lap line can creep and you will end up fighting the roof as you go.
Once the lower sheet is in place, measure the required overlap carefully. Mark the lap zone if needed, especially on longer runs where consistency matters. On many profiles, the upper sheet should overlap the lower one by the specified amount measured along the slope, not simply by eye.
Next comes the seal. In most metal sheet applications, a butyl sealing tape is used across the width of the lower sheet within the lap area. It should sit where the manufacturer specifies, usually far enough back from the sheet edge to compress properly once the upper sheet is fixed down, but not so far back that water can track between the sheets before it reaches the seal.
Keep the tape continuous across the profile and press it down firmly. Gaps, stretched sections and dirty sheet surfaces reduce performance. Silicone is sometimes used on site as a quick substitute, but unless the system specifically allows for it, butyl tape is usually the safer and more consistent option for profiled sheet end laps.
With the seal in place, lower the upper sheet onto the lap carefully. Do not drag it into position across the tape if you can help it, as that can pull the tape out of line or contaminate the bond area. Offer the sheet up, check side laps and overhangs, and make sure the profile nests correctly.
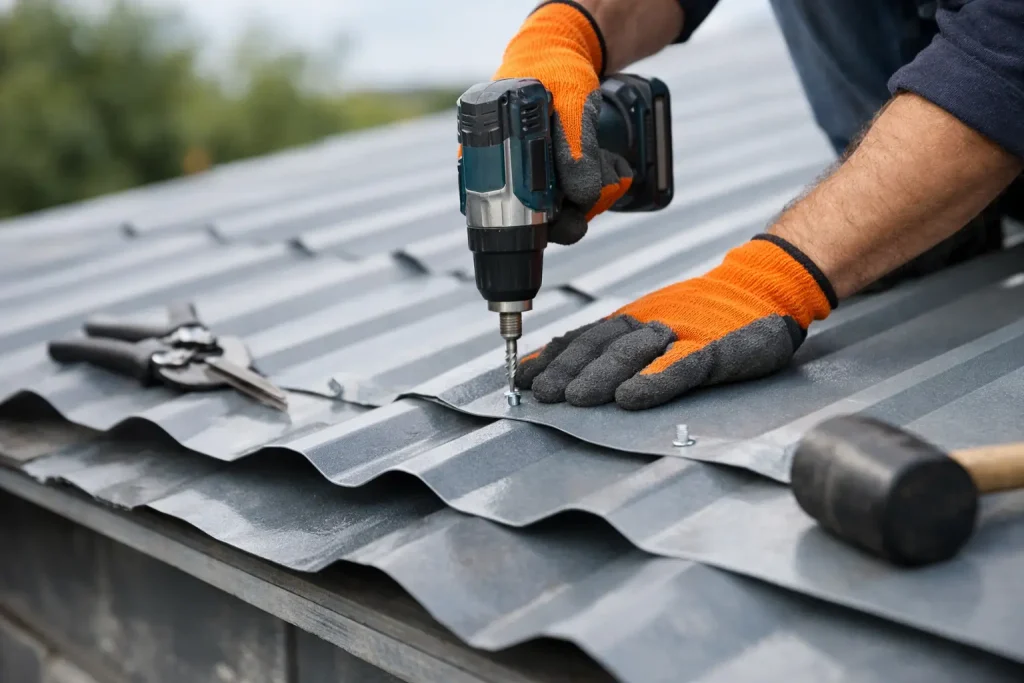
Then fix the lap according to the sheet type and manufacturer’s recommendations. On many metal profile roofs, the end lap is secured through both sheets into the supporting purlin beneath. Some systems may also call for stitching fixings through the overlap itself to keep the sheets tight together. The aim is firm compression without overdriving the fastener and distorting the sheet.
As you tighten fixings, watch the lap line. You want even contact across the width of the sheet, not a section that pinches tight at one side and sits open at the other. Uneven pressure can leave weak points where wind-driven rain will find a way in.
Common mistakes with roof sheet end laps
The most common issue is using too little overlap. It is tempting to save material or make sheet lengths work on site, but a short lap is a false economy. If the pitch is shallow or the building is exposed, that risk only increases.
Another frequent problem is placing the sealant in the wrong position. Too close to the edge and it may not compress properly or may squeeze out. Too far back and water can get into the lap before it hits the seal line. This is one of those details that looks minor until the first heavy spell of wind-driven rain.
Poor sheet alignment also causes trouble. If the upper sheet is slightly twisted or the profile is not seated cleanly over the lower sheet, the lap may look acceptable from a distance but leave irregular gaps. That is why careful handling and proper setting out are worth the extra few minutes.
Overtightening fixings is another one to avoid. Crushing the profile, damaging the washer or deforming the sheet can create paths for water rather than stopping it. Tight is good. Forced is not.
It depends on the roof type
If you are fitting box profile or corrugated metal sheets to a garage, workshop or agricultural building, end lap details are usually straightforward provided the pitch is suitable and the correct tapes and fixings are used. These systems are fast to install, but accuracy still matters.
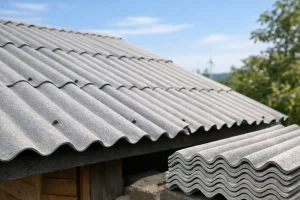
Fibre cement sheets need a different approach because the material is thicker and more brittle than steel. End laps still need correct support and overlap, but fixing methods and handling practice are not the same. You should never assume the same detail used on steel sheets will transfer directly.
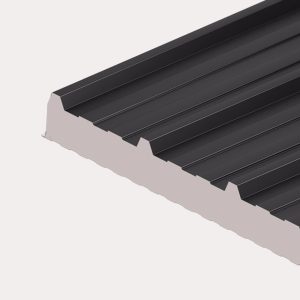
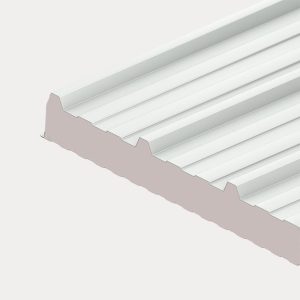
Insulated panels are different again. Many have engineered joints designed to manage air tightness, thermal performance and water ingress together. On these systems, the panel joint detail is part of the product design, so installation guidance must be followed closely. If you are using a premium insulated system, this is not the place to improvise.
Weather, pitch and exposure matter
A simple shed in a sheltered garden does not face the same conditions as a coastal farm building or an exposed industrial unit. That affects how cautious you need to be with end lap design. Lower pitches, longer roof slopes and wind-driven rain all increase the importance of getting overlap length and sealing right.
If there is any doubt, err on the side of the product guidance rather than site guesswork. A roof that looks fine on a dry day can still struggle once winter weather arrives from the wrong direction.
Final checks before you move on
Once the lap is fixed, inspect it from both above and below if possible. Check that the seal line is continuous, the sheet profiles are properly nested and the fixings are evenly tightened. Look for gaps, distorted crowns or washers that have been crushed out of shape.
It is also worth checking swarf and debris are cleared away from the lap area. Metal filings left on coated sheets can stain the finish and shorten service life. A clean roof is not just about appearance – it helps protect the sheet.
If you are ordering for a new roof or refurbishment, make sure the end lap detail is considered at the buying stage, not just when the sheets arrive. The correct profile, matching fixings, sealing tapes, flashings and support components all need to work together. That is the difference between a roof that simply goes on and one that stays weatherproof for the long term.
If you are unsure about overlap dimensions, compatible accessories or the right sheet system for your pitch, it is far better to ask before installation than after the first leak. A well-made roof sheet end lap is a small detail, but it does a big job.