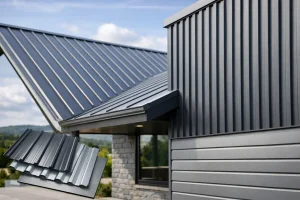
A rooflight should not be treated as an afterthought once the rest of the roof cladding is ordered. Get the profile, lap arrangement and fixing detail right from the start and it will bring useful natural light into a workshop, stable, garage or agricultural building without creating a weak point in the roof. Get one of those details wrong and wind-driven rain, cracking or premature leaks can quickly follow.
This guide explains how to fit rooflights in cladding where profiled rooflight sheets are installed alongside metal roof sheets. The key rule is simple: the rooflight must be part of the same roof system, not a panel forced into a gap.
Start with the right rooflight for the cladding
Profiled rooflights are commonly manufactured from GRP and formed to match a specific roof sheet profile. That match matters. A box profile rooflight will not seal correctly against corrugated cladding, even where the sheet widths look similar. The depth and spacing of the ribs must align exactly so the side laps close tightly and water can run down the roof as intended.
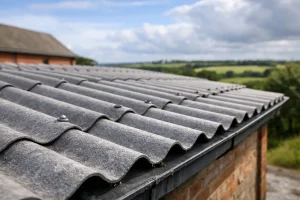
Before ordering, confirm the profile name, cover width, sheet length and roof pitch of the existing or proposed cladding. It is also worth checking whether the roof sheets are single-skin metal sheets, fibre cement sheets or insulated composite panels. Each system needs its own compatible rooflight detail.
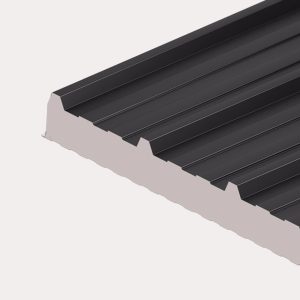
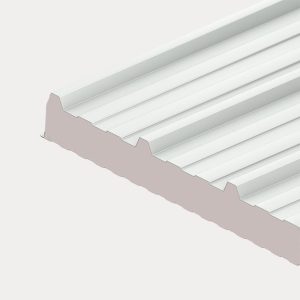
For a typical single-skin box profile or corrugated roof, a profiled GRP rooflight sheet replaces one or more standard cladding sheets. For insulated panels, use the rooflight assembly specified for that panel system. A standard single-skin GRP sheet cannot simply be fitted into a composite panel roof, as it will compromise insulation, weathering and structural performance.
Plan the position before installation begins. Rooflights are usually placed in runs rather than scattered randomly across a roof. This gives a more even spread of daylight and keeps the roof layout tidy. Avoid placing them where they will be shaded by taller buildings, trees, vents or solar equipment. Also consider what lies beneath: natural light is most useful over workbenches, livestock areas, storage aisles and access routes.
Check roof pitch, support spacing and lap direction
Rooflights follow the same drainage principles as the cladding around them. Water must flow over every overlap, not into it. Fit sheets from the eaves upwards towards the ridge, with end laps facing away from the prevailing weather. On many roofs, this means the upper sheet overlaps the lower sheet by the manufacturer’s stated amount.
The minimum roof pitch and end-lap length depend on the sheet profile, roof length and site exposure. A shallow-pitch roof needs particular care because water drains more slowly and can be driven back beneath poor laps. Do not guess the lap length or assume the arrangement used on an old shed will suit a new build.
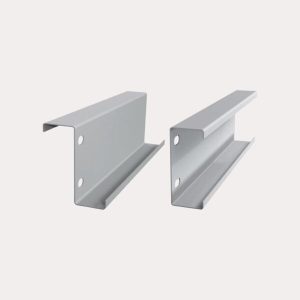
The rooflight must also be supported at the same purlin centres as the surrounding roof sheets, unless the rooflight manufacturer specifies otherwise. GRP is strong when correctly supported but is not designed to bridge excessive gaps. Purlins should be straight, level and securely fixed before any sheets go on. If the roof plane is uneven, the cladding and rooflights will both struggle to sit correctly.
Where a rooflight run is planned, check that purlin positions work with the end laps. You do not want an unsupported lap hanging between purlins. A well-planned layout saves time on site and produces a cleaner, more weatherproof finish.
How to fit rooflights in cladding step by step
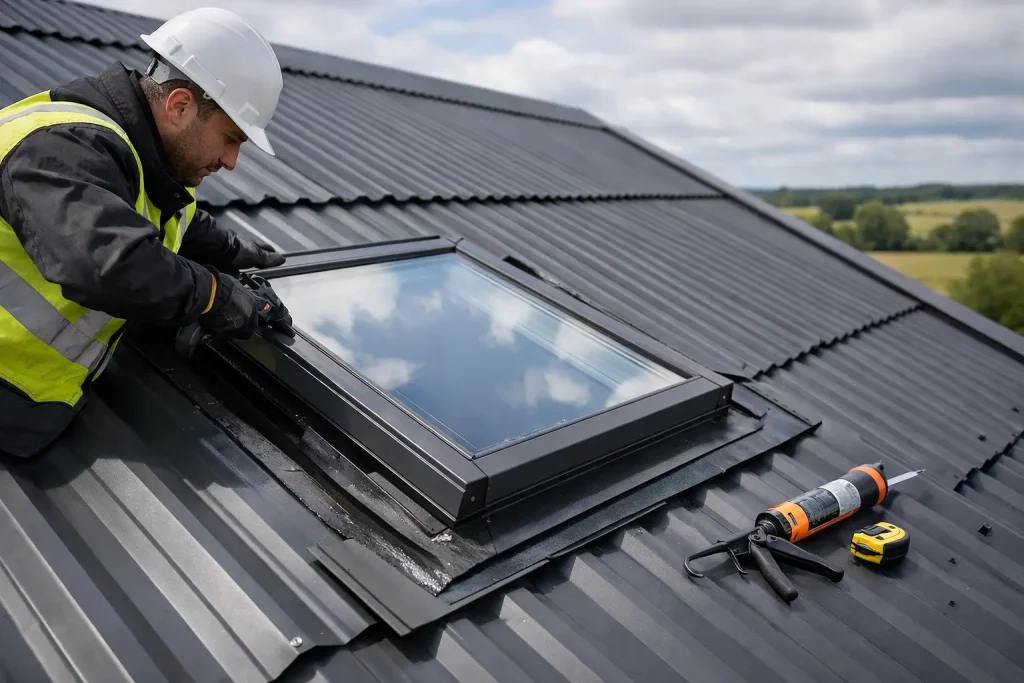
Begin by installing the first runs of metal cladding as normal, checking sheet alignment regularly. A rooflight sheet should sit in line with the profile of the adjacent sheets, so any drift in the first few sheets will show up when the rooflight is fitted.
Lift rooflights carefully and store them flat on a clean, supported surface before fitting. GRP sheets can be damaged by careless handling, concentrated loads or dragging across sharp metal edges. Keep the protective film in place where supplied until the sheet is ready to be installed.
Place the rooflight sheet in position, ensuring that its corrugations or box-profile ribs interlock fully with the neighbouring cladding. Check the eaves line first, then check the side lap and end lap before inserting any fixings. The sheet should lie naturally against the purlins without being pulled into shape by the screws.
Pre-drill fixing holes where required by the manufacturer. This is particularly important with GRP rooflights because they expand and contract more than steel cladding as temperatures change. Holes are often made slightly larger than the fixing shank to allow for movement, with the washer creating the weather seal. Follow the fixing and hole-size guidance supplied for the particular rooflight product rather than applying one rule to every sheet type.
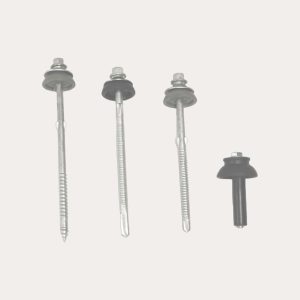
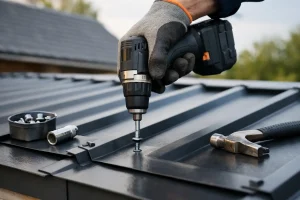
Use compatible self-drilling roofing fixings with weatherproof sealing washers. Fix through the correct point of the profile and into the purlin below, following the sheet manufacturer’s fixing pattern. Fixings should be firm enough to compress the washer and seal the hole, but never overtightened. Excess pressure can distort the rooflight, split the material around the fixing or squeeze out the washer.
At side laps and end laps, use the recommended sealing tape or lap sealant where the roof system calls for it. This detail is especially valuable on low-pitch roofs and exposed sites. Sealants do not compensate for incorrect laps, however. The sheet profile still needs to mate properly, and the laps must be facing the right way.
Continue the cladding installation above and beside the rooflight, checking each junction as you go. Once the roof is complete, fit ridge flashings, barge flashings and eaves details as specified for the system. A rooflight can be perfectly fitted and still leak if the surrounding roof edges and flashings are incomplete.
Do not cut a hole and drop in a sheet
One common mistake is cutting an opening into an already-clad roof and trying to lay a rooflight over it. This often leaves unsupported sheet edges, awkward laps and a poor route for water to escape. In most profiled cladding installations, the rooflight is a full sheet or a purpose-made panel that forms part of the sheet run.
If an existing roof needs more daylight, assess the full roof layout first. It may be practical to remove and replace selected cladding sheets with matching rooflights, but the work needs careful planning around sheet length, purlin positions and flashings. Where the existing profile is discontinued or unknown, take accurate measurements and seek technical advice before buying materials.
Fixing details that prevent leaks and cracks
Most rooflight problems come back to a handful of avoidable issues. Poorly matched profiles leave open side laps. Inadequate purlin support allows flexing. Overtightened fixings crack GRP, while fixings with no allowance for thermal movement can cause stress around the holes over time.
Use the correct accessories from the outset: appropriate roofing screws, sealing washers, butyl tape or foam fillers where specified, and the correct flashings for the roof profile. A roof is only as good as its junctions. Buying roof sheets without the supporting components may look cheaper initially, but it can lead to delays and makeshift details once the job is under way.
Take extra care when working around rooflights after installation. They must never be used as a walking surface, even if they appear solid. Use properly supported crawling boards, roof ladders or other suitable access equipment, and follow safe working procedures for work at height. A rooflight needs protecting from impact during future maintenance as well as during the initial build.
Special considerations for insulated roofs and wall cladding
Insulated composite roof panels need proprietary translucent rooflight sections or purpose-designed units compatible with the panel manufacturer’s system. These preserve the panel profile and thermal performance while providing daylight. Trying to adapt a single-skin rooflight to an insulated panel roof can create condensation risks and difficult-to-seal joints.
If you mean vertical wall cladding rather than roof cladding, the principle remains the same: use a rooflight panel matched to the wall sheet profile and follow the manufacturer’s overlap and fixing guidance. However, the detailing differs because water drains vertically rather than down a pitched roof. Pay close attention to horizontal joints, side laps and any openings around doors or windows.
A well-positioned, correctly fitted rooflight can make a building noticeably more practical without adding ongoing energy costs. Measure the profile carefully, order the matching sheet and accessories together, and do not hesitate to ask for technical guidance before the cladding goes on. Roof Sheets Online can help you identify the right components so the finished roof is bright, strong and weather-resistant from day one.