
A leaking roof is not always caused by the main sheet or tile. More often, water finds its way through a lap, fixing hole, ridge junction or abutment that has not been properly sealed. This roof flashing sealant guide explains where sealant earns its place, which products suit common roof materials, and why a good flashing detail should never depend on a bead of sealant alone.
For garages, sheds, workshops, stables and light industrial buildings, the right combination of precision-made flashings, compatible tapes and sealants is what keeps the roof weatherproof through driving rain, frost and summer movement. Getting this detail right first time costs far less than chasing a persistent leak after the building is complete.
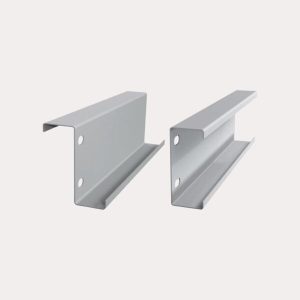
Roof flashing is the shaped trim that directs water away from vulnerable transitions. Typical examples include ridge flashings, barge flashings, apron flashings against a wall, valley details and side laps on profiled metal sheets. Sealant is used to close small gaps within these details and prevent wind-driven rain, dust and insects getting beneath the covering.
It is not a substitute for correct overlap, fall or fixing. If water is being channelled uphill, a flashing is too short, or a roof sheet has been cut inaccurately, applying more sealant will only hide the problem for a while. The flashing must shed water mechanically first. Sealant then provides a reliable secondary weather seal.
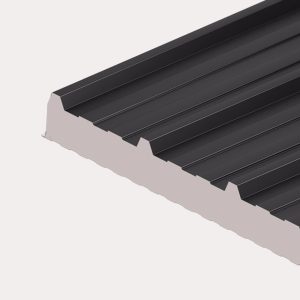
This distinction matters particularly on box profile and corrugated steel roofs. Sheets expand and contract as their temperature changes, while the building structure can move slightly over time. A rigid or poorly bonded product can crack, pull away or trap water where it should drain freely.
The best choice depends on the materials being joined, the joint design and whether the sealant is exposed to sunlight. Do not assume that one general-purpose tube will suit every roofing job.
Butyl sealing tape is often the first choice for overlapping metal roof sheets and flashings. It remains flexible, creates an even compressed seal and is particularly useful where two clean, dry surfaces are clamped together with fixings. It is commonly used beneath ridge flashings, side laps, rooflight laps and apron flashing edges.
Unlike a messy bead, tape gives a consistent thickness across the joint. It also avoids the risk of applying too much sealant and blocking a drainage route. Choose the tape width to suit the overlap and position it so fixings compress the tape without placing it directly at an exposed sheet edge.
A quality neutral-cure silicone can suit some exposed perimeter joints, particularly around certain rooflights, trims and masonry abutments. Neutral-cure products are generally a safer option around coated metals than acetoxy silicone, which can release acetic acid as it cures and may contribute to corrosion on unsuitable surfaces.
Silicone remains flexible and handles weathering well, but it does not bond equally to every surface. Check that it is suitable for coated steel, aluminium, polycarbonate or the specific rooflight material in use. It can also be difficult to paint and is not usually the best answer for a wide, moving joint.
Polyurethane and hybrid polymer sealants offer strong adhesion and flexibility, making them useful for repairs and junctions where a more substantial bond is required. Many are suitable for exterior use and can tolerate movement better than cheaper, rigid mastics.
Their strength is also their limitation. A highly adhesive product used in the wrong place can make future replacement of a flashing or rooflight far harder. Use these products where the detail calls for a bonded seal, not simply because they appear tougher on the shelf.
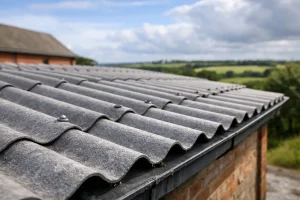
Some sealants can react with plastics, affect coated finishes or fail to adhere to dusty fibre cement. Polycarbonate rooflights deserve particular care, as solvents and incompatible products can cause stress cracking. Read the product data before applying anything to a visible surface, and test a small concealed area where there is doubt.
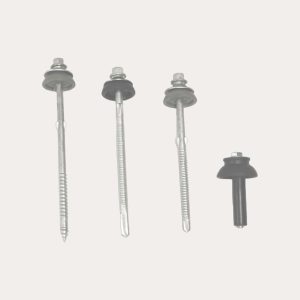
For a complete roof build, it is sensible to specify the flashing, closure strips, tapes and fixings together. That reduces guesswork and makes sure the components work with the sheet profile rather than fighting against it.
At a ridge, place butyl tape or profiled closure strips beneath the ridge flashing where required by the system. The closure follows the shape of the sheet profile, helping close the high and low points that a flat tape alone may not seal. Fix the ridge securely into the supporting structure, using appropriate stitching screws where specified.
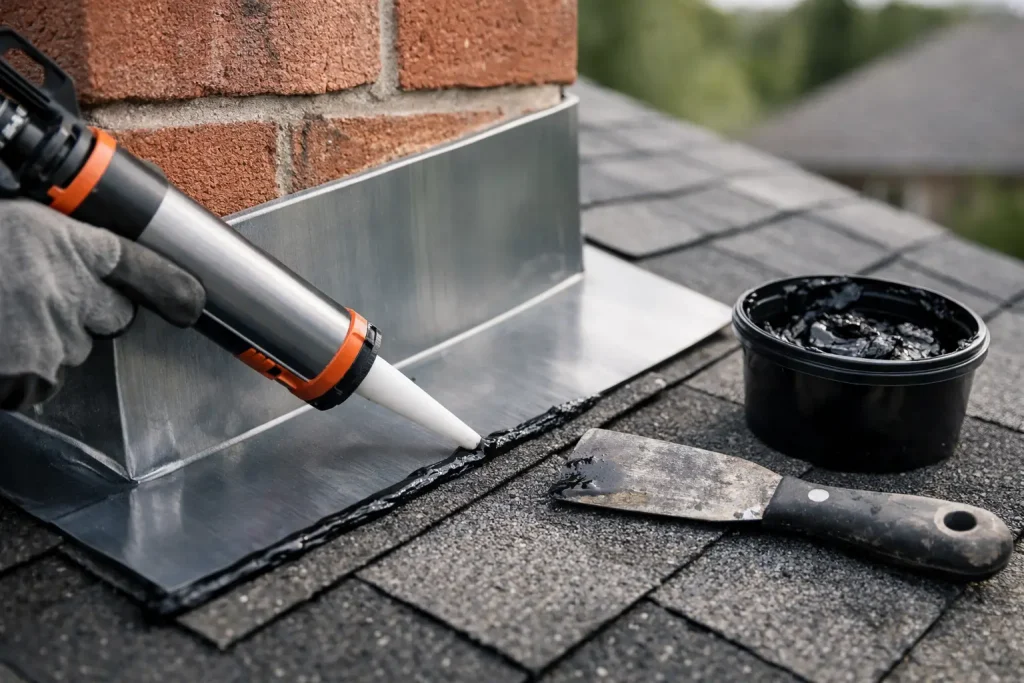
At a wall abutment, an apron flashing should overlap the roof sheets sufficiently to direct water onto the roof, not behind it. The upper edge may need to be chased into masonry or finished beneath an existing wall detail. Sealant can close the chased joint, but the flashing should still be properly dressed and mechanically supported.
For side laps on low-pitch metal roofs, butyl tape is normally fitted within the overlap before the sheets are stitched together. The lower the roof pitch, the more critical this becomes because rainwater drains more slowly and can be pushed back by wind. Follow the minimum pitch guidance for the exact sheet profile, as sealant cannot make an unsuitable pitch dependable.
Around rooflights, use the recommended lap arrangement, fixing pattern and sealant or tape specified for that rooflight system. Rooflights move differently from steel sheets and can be vulnerable to overtightened fixings. A compressed seal is required, but crushing the sheet or rooflight will create another route for water.
Most premature sealant failures begin before the cartridge is opened. Surfaces must be clean, sound and dry. Remove loose paint, old failed mastic, swarf, dust, grease and standing water. On older roofs, check whether the coating beneath a failed seal is still intact. There is little value in bonding a new sealant to a surface that is already peeling away.
Temperature also affects the job. Cold surfaces may carry condensation even when they appear dry, while very hot metal can make a product skin over too quickly. Work within the manufacturer’s stated temperature range and avoid applying sealant during rain, fog or when a shower is likely before curing.
A neat bead starts with correct joint size. Cut the nozzle at an angle to match the width required and apply steady pressure rather than trying to cover the gap in one oversized pass. Tool exposed sealant promptly if the product instructions allow it, ensuring it contacts both sides of the joint without leaving pinholes.
Do not smear sealant thinly across the face of a flashing to make it look tidy. A thin feathered edge is more likely to lift under ultraviolet exposure and water. Keep the seal within the designed joint wherever possible.
The most common error is sealing over a fault instead of correcting it. A flashing with insufficient overlap, a missing fixing, a roof sheet installed in the wrong direction or a blocked gutter will continue to cause trouble regardless of the sealant used.
Another is mixing products without considering compatibility. Applying fresh silicone over old polyurethane, or applying a new seal over dirty previous mastic, often results in poor adhesion. Remove failed material fully before repairing the detail.
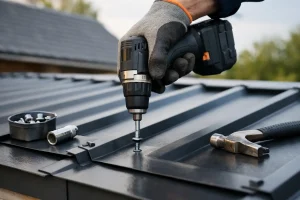
Over-tightening fixings is equally problematic. A washer should compress enough to seal around the fixing, not distort the metal sheet or split the washer. Fixings should be driven squarely into the support, with the correct type and length for the roof build-up.
Finally, avoid treating annual checks as unnecessary. Roof penetrations, ridge lines, abutments and rooflight laps should be inspected after severe weather and as part of routine maintenance. Look for lifted edges, cracked sealant, loose stitching screws, damaged washers and debris that holds water against the roof.
When ordering roofing materials, think beyond the sheet length and colour. A weatherproof roof needs the right profile-matched flashings, suitable fixings, sealing tapes, closures and rooflights from the outset. This is especially useful when replacing an older roof, where the original details may have been improvised or poorly matched.
Roof Sheets Online supplies the supporting components alongside roof sheets and cladding, so trade customers and competent DIY installers can source a properly matched system in one order. If you are unsure whether a detail needs butyl tape, a closure or a bonded sealant, ask before fitting rather than after the first leak appears.
A careful flashing detail may not be the most visible part of a new roof, but it is often the detail that determines whether the building stays dry. Choose compatible materials, keep water flowing in the right direction, and use sealant as the finishing protection it is designed to be.
Roof Sheets Online Ltd
UNIT C4
MACROME ROAD
Wolverhampton
WV6 9HD
Company No 15150940
Vat No. 4880 70856