A corrugated roof can look properly finished from ground level yet still let wind-driven rain, nesting birds and insects into the roof space at the eaves. Getting the eaves closure details for corrugated roofing right is what turns a set of sheets into a weatherproof roof build. It is a small detail, but it protects insulation, timber, stored equipment and the life of the roof itself.
For sheds, garages, stables, workshops and agricultural buildings, the right combination of profile-matched closures, gutter support and ventilation makes a real difference. The exact detail depends on the sheet material, roof pitch, insulation build-up and whether the roof void needs to breathe.
Eaves closure details for corrugated roofing
The eaves are the low edge of a pitched roof, where rainwater leaves the sheets and enters the gutter. Corrugated sheets have repeating high and low waves, leaving open gaps beneath the profile at this point. Without a closure, those gaps are an easy route for pests and blown rain.
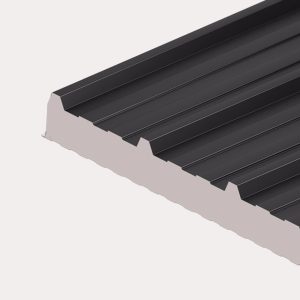
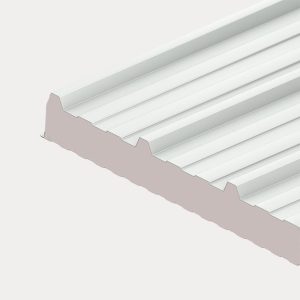
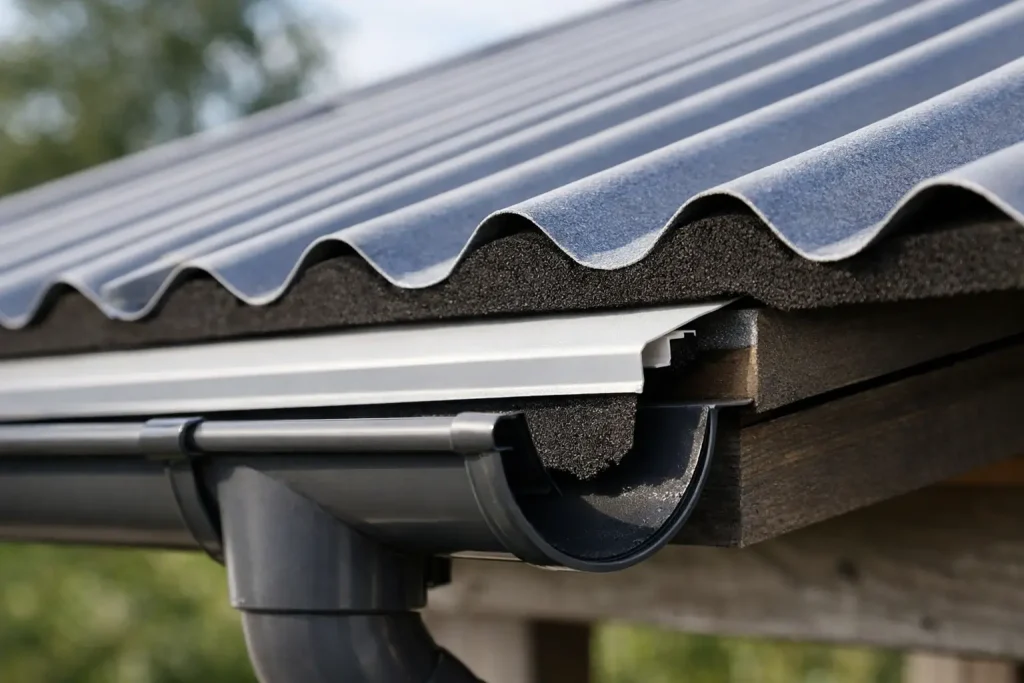
An eaves closure is usually a shaped foam strip that matches the wave pattern of the roofing sheet. It is fitted beneath the sheet at the lower edge, generally on top of the eaves purlin or supporting timber. The corrugated sheet then sits down onto the closure, sealing the openings while supporting the profile evenly.
Do not treat all closure strips as interchangeable. Corrugated sheet profiles vary in wave pitch, depth and width, even when they appear similar at a glance. A poorly matched filler can leave gaps at the side of the waves, squash too tightly, or hold the sheet above its intended fixing line. Specify closures for the actual profile being installed.
What the eaves detail needs to achieve
A well-planned eaves detail has several jobs. It must direct water cleanly into the gutter, stop rain being blown back beneath the sheet, close off entry points for birds and insects, and leave the roof assembly able to manage moisture. It also needs to provide a sound fixing point for the sheet at its lower edge.
For most uninsulated corrugated metal roofs, the sheet should project into the gutter far enough for water to drop into it rather than run behind it. Around 50mm is common, but this is not a rule to apply blindly. Sheet profile, pitch, gutter size and exposure all matter. Too little projection can cause water to track back onto the fascia. Too much can make the sheet more vulnerable to wind uplift or look untidy.
The gutter should be positioned after the final sheet overhang has been established, not guessed beforehand. On a refurbishment, this may mean checking the existing fascia line and gutter brackets before ordering sheet lengths.
Start with the roof build-up
The correct closure detail changes depending on what is beneath the sheets. This is where many leaks and condensation problems begin.
Single-skin corrugated sheet roofs
A basic single-skin roof over a shed, store or open-sided structure may use corrugated steel, aluminium, bitumen or fibre cement sheets fixed to purlins. At the eaves, a profile-matched foam filler is normally the simplest way to close the wave gaps. The sheet projects into the gutter, and the closure sits beneath it at the line of the eaves support.
Where condensation is a concern, do not assume that filling every opening is the answer. Warm, moist air inside the building can condense on the underside of cold sheets. Good air movement, suitable insulation or an anti-condensation backing may be required depending on the use of the building. A stable, for example, has a very different moisture load from a garden tool store.
Insulated and built-up roofs
Insulated panels and built-up systems require a more considered eaves arrangement. There may be an outer sheet, insulation layer, vapour control layer, liner panel, eaves flashing and purpose-designed closures working together. The aim is to prevent air leakage and water ingress without creating a cold bridge or trapping moisture in the construction.
Do not substitute a generic foam strip where a system-specific closure or eaves component is required. With insulated roofing, compatible parts protect the thermal performance and provide a cleaner, more reliable finish. This is particularly relevant for workshops, commercial units and any building that is heated or used regularly.
Roofs with a ventilated void
A roof void may need ventilation to control condensation in the timbers and insulation. In that case, fully sealing the eaves with solid foam can restrict the airflow the roof was designed to have.
The answer is not to leave open corrugations for birds and wasps. Use an appropriate ventilated eaves arrangement, often combining insect mesh with a ventilator strip or a dedicated system detail. The airflow path should be continuous from the eaves into the void and, where required, out at the ridge. The precise approach depends on whether the roof is cold, warm, insulated at ceiling level or insulated along the slope.
Positioning closures, sheets and fixings
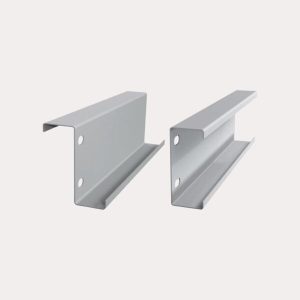
Fit the lower support or eaves purlin square and level first. If this line is out, every sheet edge and gutter run will show it. Lay the closure strip along the support, ensuring its wave shape aligns with the sheet profile and that joints are close together without being stretched.
Set the first sheet carefully. Its lower edge should give the planned gutter overhang, while its side lap must remain true to the building line. It is tempting to concentrate on getting the first corrugation parallel to the verge, but checking the sheet is square at both the eaves and ridge avoids a progressively wider or narrower lap across the roof.
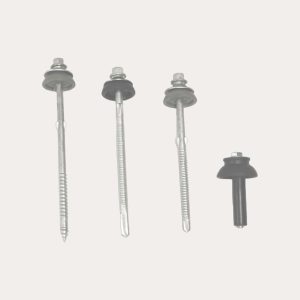
Fixings must suit the sheet material and supporting structure. Corrugated steel sheets are commonly fixed through the crown of the corrugation using self-drilling screws with sealing washers. Fibre cement and bitumen products have different fixing requirements, including hole sizes, washer types and fixing locations. Follow the sheet manufacturer’s guidance rather than applying one method across every material.
Avoid overtightening. A fixing washer should form an even weather seal, not be crushed until it splays beyond the screw head. Too much pressure can distort metal sheets, damage coatings and shorten the life of the washer. Under-tightened fixings, on the other hand, allow movement and water entry.
Flashings and gutters complete the detail
A closure strip cannot correct a poor gutter line or missing flashing. If the roof meets a wall at the eaves, an apron flashing may be needed to guide water over the sheet and prevent it reaching the junction. If there is a fascia board, it should be protected from persistent run-off and positioned so gutter brackets can support the chosen gutter without fouling the sheets.
On exposed sites, pay extra attention to the lower sheet edge. Coastal locations, hilltop buildings and wide open agricultural sites see greater wind pressure and more wind-driven rain. Closer fixing centres, correctly formed side laps and a fully compatible closure arrangement may all be necessary. It depends on the sheet manufacturer’s wind-load guidance and the structure beneath, not simply the size of the roof.
For roofs without gutters, the eaves still need a controlled drip line. Allowing water to run straight off may be suitable for a field shelter or open store, but repeated splashback can rot timber, stain walls and erode the ground below. A drip flashing or carefully planned overhang helps move water away from the building.
Common eaves-detail mistakes
The most common error is ordering corrugated sheets but overlooking the matching accessories until fitting day. Foam fillers, fixings, gutters, flashings and sealing materials are not finishing touches. They are part of the roof specification.
Another is using expanding foam as a substitute for profile fillers. It is messy, difficult to control, can obstruct ventilation and rarely gives a consistent long-term finish. Profiled closures are quicker to fit and look far more professional.
Also avoid sealing over wet, dirty or damaged sheet edges. Remove swarf from drilling, as metal filings can rust and mark coated sheets. Check that protective coatings have not been scratched at cut edges, and use suitable touch-up treatment where the sheet manufacturer recommends it.
Finally, do not mix incompatible materials. Certain metals, fixings and treatments can react when exposed to moisture. Match flashings, washers and fasteners to the roofing system, particularly on galvanised or coated steel installations.
Ordering the sheets, profile-matched closures, flashings and correct fixings together saves delays when the roof is open to the weather. If you are unsure whether your roof needs a solid filler, ventilated eaves detail or a system-specific closure, the technical team at Roof Sheets Online can help you put the right components on the order before fitting begins.