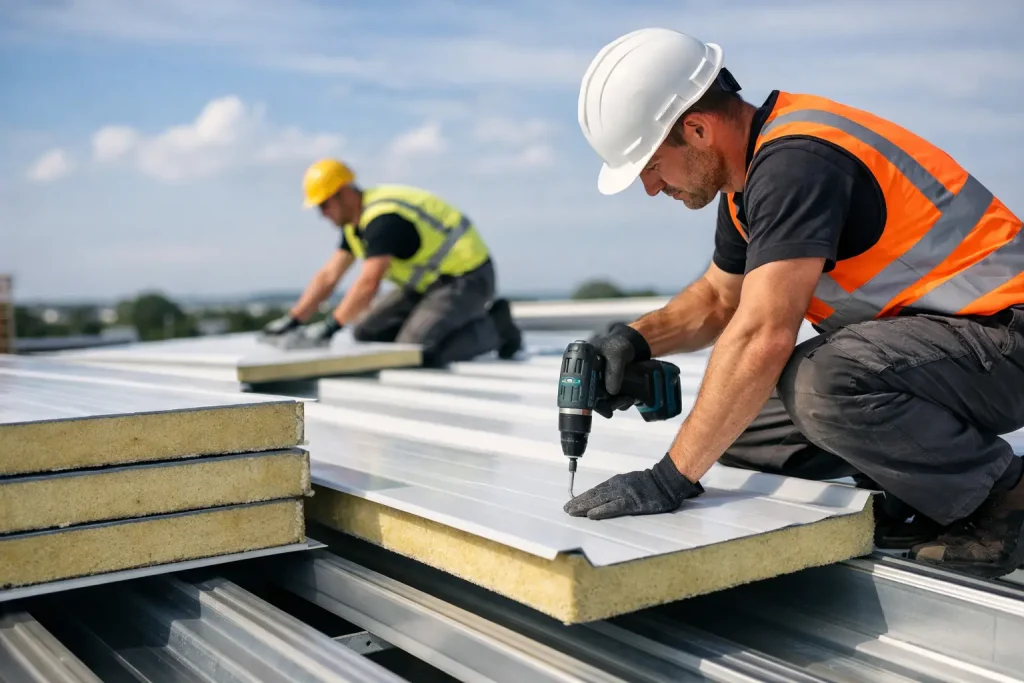
If you need to fit insulated roof panels, the job usually goes well or badly long before the first panel is lifted onto the roof. Most problems come from poor setting out, the wrong fixings, missed sealing details or trying to make mismatched components work together. Get those basics right and insulated panels give you a fast, tidy, weather-resistant roof with strong thermal performance and far less site time than a built-up system.
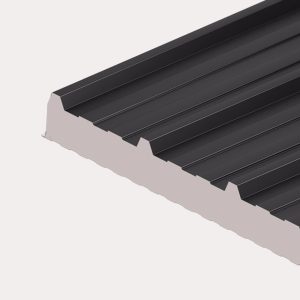
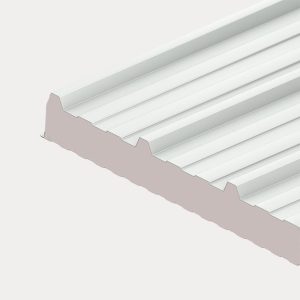
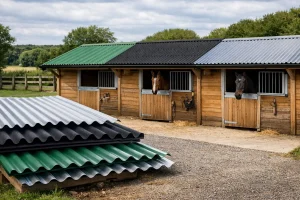
Insulated roof panels are popular for garages, workshops, farm buildings, stables, garden rooms and light industrial units because they combine outer sheet, insulation core and internal liner in one precision-made panel. That saves labour, reduces interfaces and helps create a cleaner finish. It also means there is less room for improvisation. The panel, the purlin layout, the side laps, the flashings and the fixings all need to work as one system.
Before you fit insulated roof panels
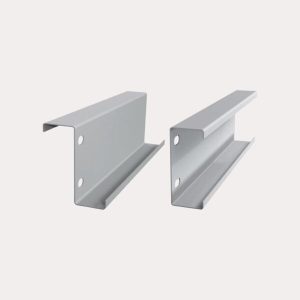
Start with the structure. Purlins must be level, correctly spaced and suitable for the panel span and loading requirements. If the supporting steelwork or timber is out, the roof panels will show it immediately. You can force standard sheets into minor irregularities. Insulated panels are less forgiving, and forcing them can damage joints, distort laps and create water ingress points.
Roof pitch matters too. Always check the minimum pitch recommended for the panel you are using, especially where there are long runs or end laps. A panel that performs well at one pitch may need additional sealing or different detailing at a lower pitch. This is one of those areas where “close enough” tends to become expensive later.
You also need to confirm lengths, overhangs and rooflight positions before delivery. Trimming insulated panels on site is possible in some situations, but it is not something to build a whole job around. Factory-prepared lengths, correct flashings and the right accessories make fitting cleaner and faster.
The kit matters as much as the panel
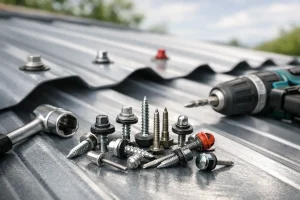
A proper installation is not just about the roof panel itself. You need the correct fasteners, stitchers, sealants, fillers, flashings and closures for the profile and application. This is where many buyers get caught out by shopping piecemeal. The panel may be right, but the details around it are not.
For a weatherproof result, side lap sealing, ridge details, eaves closures and verge flashings all need to be specified properly. The right components help with thermal performance as well. Gaps around edges and penetrations can undermine the benefit of the insulated core if they are not sealed and finished correctly.
How to fit insulated roof panels step by step
The first stage is setting out. Mark the roof so the first panel starts square to the eaves and true to the building line. If the first panel is off, the error carries across the full roof and gets worse at the far end. That can leave awkward cuts, uneven overhangs and poor flashing lines.
Lift panels carefully and support them properly while handling. These are strong roofing products, but the faces can still be damaged by poor lifting practice or dragging across steelwork. On longer lengths, mechanical lifting is usually the sensible option. It protects the panel and makes positioning safer and more controlled.
Position the first panel and check alignment before fixing fully. Make sure the panel sits correctly on the purlins and that the eaves projection is consistent. Once you are happy, install the primary fixings to the manufacturer’s pattern. Do not overtighten. Compressing washers too hard can damage the seal and shorten service life rather than improve it.
The next panel should engage neatly with the side joint of the first. Depending on the panel profile, that may involve a tongue-and-groove type action or a formed side lap. The fit should feel positive, not forced. If the panel is resisting, stop and check line, support position and joint condition before carrying on.
Where sealant tape is required, apply it exactly where specified and keep it continuous. Small breaks in sealant lines can become the source of leaks later, particularly around laps and end joints. This part of the job is easy to rush and rarely worth it.
Continue across the roof, checking line regularly rather than assuming it is still true. On longer runs, minor drift can become obvious by the final panel. It is quicker to correct it panel by panel than to find out at the ridge or verge that your dimensions have gone off.
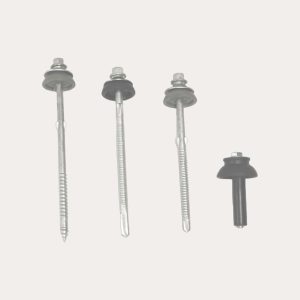
Fixings, end laps and penetrations
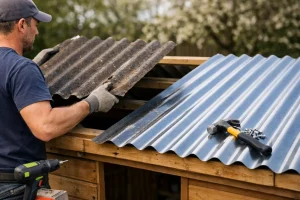
Fixings need more attention than they usually get. The right fastener length depends on panel thickness and support type. The fastener also needs to suit the substrate, whether that is timber or steel. Using a fixing that is almost right is a common mistake on mixed projects and refurbishments.
End laps need special care if your roof design requires them. Lap length, sealant placement and support beneath the lap all need to match the panel specification. Poorly detailed end laps are one of the first places a roof will fail in driven rain.
Penetrations for flues, extract points or rooflights should be planned before the roof is sheeted where possible. Cutting openings after installation can be done, but every penetration creates another detail that has to be flashed and sealed correctly. Keep penetrations to a minimum and use purpose-made flashings where available.
Fitting flashings and finishing details
A roof is only as good as its edges. Ridge flashings, barge flashings, eaves trims and foam fillers all play a part in keeping water, draughts and dirt out of the roof build-up. They also give the job a finished look, which matters on domestic and commercial projects alike.
At the ridge, make sure the panel crowns or profiles are closed off where required and that the flashing is fixed securely without crushing the sheet profile. At the eaves, closures and trims should support water run-off cleanly into the guttering. Verge details need to protect the panel edge from wind-driven rain while keeping the line neat and straight.
This is also the point to check internal appearance. One of the advantages of insulated panels is the clean liner finish beneath. If panels have been handled well and fixed accurately, the underside looks sharp and professional without extra lining work.
Common mistakes when you fit insulated roof panels
The biggest mistake is treating insulated panels like ordinary single-skin sheets. They install quickly, but they are still a system product. The joints, tolerances and detailing are more exact, and that is part of what gives them their performance.
Another common issue is ignoring condensation risk around the rest of the building. Insulated roof panels help control temperature difference through the roof, but condensation can still form if ventilation is poor or if walls, openings and junctions are not detailed properly. The roof should be considered as part of the whole envelope.
Buyers also sometimes focus on panel price and leave accessories until late in the process. That often leads to delays or substitutions on fixings and flashings. In practice, getting the complete roof package sorted from the outset usually saves time, avoids compatibility problems and reduces wasted labour on site.
When fitting insulated roof panels is worth paying for
Many competent installers and experienced DIY customers can fit insulated roof panels successfully on straightforward buildings. A simple workshop or garage with good access, a regular shape and clear support layout is very different from a complex roof with multiple penetrations, low pitch areas or awkward junctions.
If the project includes fire performance requirements, long spans, heavy service loading or detailed interface work with existing structures, it is worth slowing down and checking the specification carefully. The material cost of insulated panels means avoidable errors are not cheap. Good technical advice at ordering stage often prevents exactly that.
For buyers who want a smooth job, it helps to source the panels with matching flashings, fixings, rooflights and support components from one specialist supplier. That keeps specification clearer and cuts down the back-and-forth between merchants. At Roof Sheets Online, that is exactly how we help customers across Great Britain – getting the right materials together first, then supporting the job with practical advice and confirmed delivery dates.
Fit insulated roof panels properly and you get more than a roof covering. You get a cleaner build, quicker installation and a roof that looks sharp while standing up to British weather. If you are planning a project and want to avoid the usual fitting headaches, get the details right before the sheets arrive and the whole job becomes far easier.