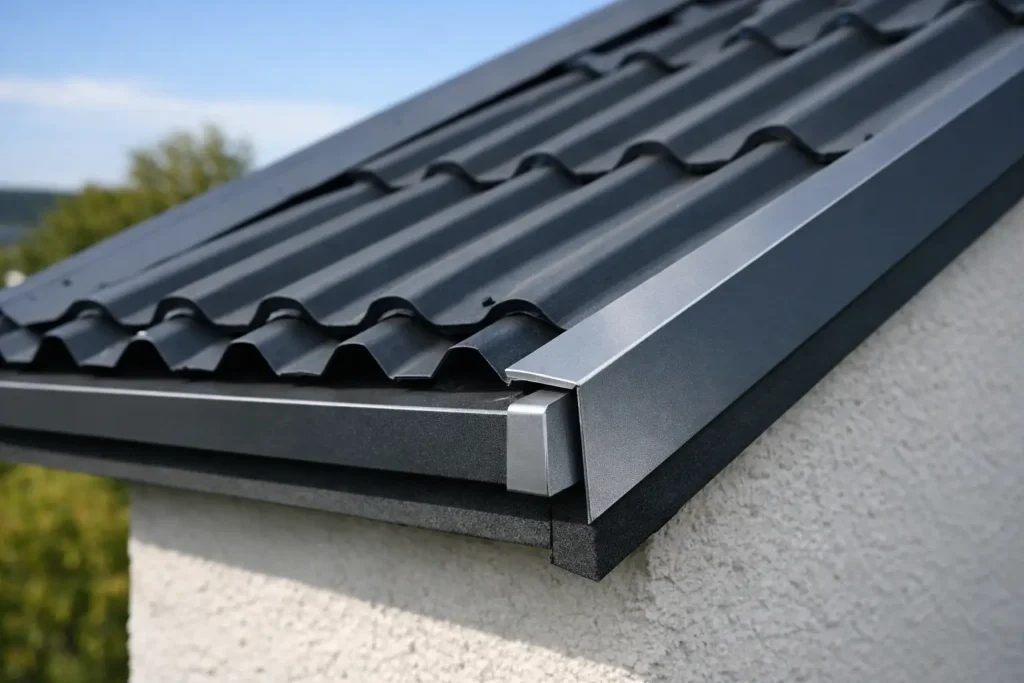
A box profile roof can be perfectly sheeted and still leak at the gable edge if the trim is wrong or poorly fitted. Verge flashing for box profile sheets covers this exposed junction, helping to keep wind-driven rain out while giving the roof a clean, finished line. It is a small component with a big job, particularly on sheds, garages, workshops, stables and agricultural buildings that face the full force of the British weather.
What verge flashing does on a box profile roof
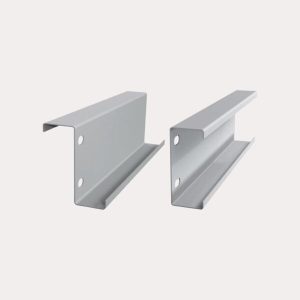
Verge flashing is the folded metal trim fitted along the sloping edges of a pitched roof, often called the barge or gable ends. It bridges the gap between the outer edge of the box profile sheet and the supporting timber or steelwork beneath. Without it, the sheet edge, fixings and any gaps at the verge remain exposed to rain, wind and nesting pests.
A properly specified flashing does more than improve appearance. It directs water away from the roof edge, reduces the chance of wind lifting the outer sheet edge and conceals cut ends for a far neater finish. On a refurbishment, it can also tidy a roof where old verge details have corroded or become loose.
Do not confuse a verge flashing with ridge flashing or eaves flashing. Ridge flashings weather the top junction of two roof slopes, while eaves flashings finish the lower edge where water enters the gutter. Each trim has a different shape and position. Ordering the right accessory for each roof edge prevents hold-ups when fitting day arrives.
Choosing verge flashing for box profile sheets
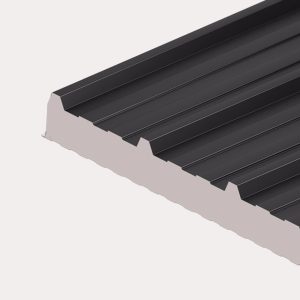
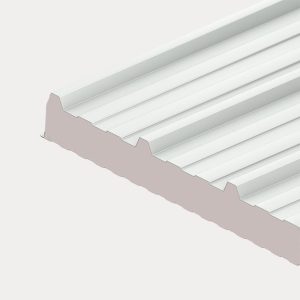
The best flashing is not simply the one that looks closest in colour. It needs to suit the sheet profile, roof construction and the amount of cover required at the edge. Box profile sheets have pronounced ribs and pans, so a flat, lightly folded trim may leave awkward gaps or insufficient coverage. A purpose-made box profile verge flashing is designed to sit over the sheet edge and provide a secure, weatherproof overlap.
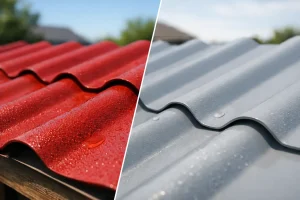
Start with the profile and material of your sheets. Check the sheet depth, rib spacing and coating type, then select a flashing in a compatible material and finish. Matching the colour creates a sleek result, but matching the coating matters too. Polyester, plastisol and galvanised finishes have different looks and service expectations. Where the roof is visible from the ground, a colour-matched trim is usually worth specifying from the outset.
The cover dimensions also matter. One face of the flashing should cover enough of the top sheet surface to protect the outer rib and fixing area; the other should extend down the verge board or cladding edge sufficiently to shed water clear. The correct size depends on the roof pitch, sheet profile, purlin or timber position and whether the building has fascia, bargeboards or overhanging sheets.
Length is equally straightforward but often overlooked. Measure the full slope of each verge, not the building length, and allow for overlaps between flashing lengths. Flashings are normally installed from the eaves upwards, with the higher length lapping over the lower length. This makes water run over the joint rather than into it.
Do you need left- and right-hand flashings?
This depends on the flashing shape and how it is folded. Some verge trims are handed, while others can be used on either side of the roof. Do not assume they are interchangeable. Confirm whether you need a left-hand or right-hand version when looking from the eaves towards the ridge, and check the supplier’s drawing if the detail is unfamiliar.
Getting this right before ordering is far easier than trying to turn or reverse a trim on site. If you are supplying plans, measurements or photographs for advice, include the direction of the roof fall and which edges need finishing.
A practical fitting approach
Fitting should begin only once the sheets are aligned, properly fixed and projecting consistently at the verges. A wavy sheet edge cannot be disguised by a flashing. Check the roof line from the ground before committing to the trims, as correcting a misplaced sheet is simpler at this stage.
Prepare the edge and closures
The outer sheet should have suitable support beneath it. On many builds, that means the last purlin or timber support is positioned close enough to the verge to give the sheet and flashing a firm fixing point. If the sheet edge is unsupported, wind movement can loosen fixings over time.
Profiled foam fillers may be needed to close the shaped gaps beneath the flashing, depending on the roof detail and exposure. They help limit draughts, wind-blown rain, insects and birds entering the building. They are especially useful on open-sided agricultural structures, but they should be selected to suit the exact sheet profile rather than trimmed from a generic foam block.
Set the first length at the eaves
Position the first flashing so it finishes neatly with the eaves detail and covers the sheet edge evenly. Before drilling, check that it follows the roof slope and does not pull the sheet out of line. The lower end must work with the gutter or eaves flashing arrangement so rainwater is directed where it should be, rather than behind the fascia.
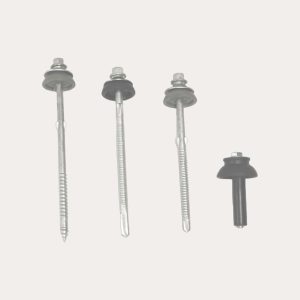
Use suitable self-drilling stitching screws or other recommended fixings, complete with sealing washers where required. Fix through the correct part of the flashing and into sound backing material. Avoid placing fixings where water will sit, and do not over-tighten them. Crushing the washer can reduce its sealing performance and distort the flashing.
Overlap lengths in the right direction
Continue up the roof, allowing a sensible overlap between flashing lengths. A 150mm overlap is commonly used, though the required lap can vary with roof pitch, exposure and the manufacturer’s detail. Low-pitch roofs or very exposed sites may need more care at every joint.
Always arrange the overlap so the upper flashing sits over the lower one. Consider the prevailing wind too. On exposed locations, placing vulnerable joint openings away from the strongest weather can offer an extra margin of protection. If you use sealant or butyl tape at laps, use a roofing-grade product and apply it to clean, dry surfaces.
Finish cleanly at the ridge
At the top, the verge flashing must meet the ridge system without leaving a route for water to enter. The precise cut and overlap depend on the ridge flashing and roof profile. Dry-fit both parts before making final cuts, particularly where two verges and a ridge meet at a small apex.
Use snips or suitable cutting equipment that will not burn the protective coating. Abrasive cutting discs can throw hot particles onto coated sheets and flashings, creating future corrosion points. Remove swarf from the roof immediately and touch up any minor coating damage with an appropriate repair system.
Common problems that cause leaks at the verge
Most verge issues come back to poor coverage, weak support or rushed fitting. The flashing may be too narrow for the profile, leaving the outer rib exposed. Alternatively, the sheet may finish beyond the available support, allowing it to flex whenever the wind catches it.
Gaps at the profile are another frequent problem. A flashing can look acceptable from a ladder yet still allow rain to track beneath it during a storm. Correctly matched fillers, sound overlaps and properly seated washers are what turn a tidy edge into a weatherproof one.
Colour mismatch is less serious structurally but can spoil the appearance of a new roof. Order the sheet, flashings, fixings and closures together where possible. This helps ensure compatible colours, profiles and quantities, and avoids pausing an installation while a missing component is sourced.
Measure before ordering
For each verge, record the slope length, the number of flashing lengths required, the overlap allowance and the roof side. Also note the sheet profile, roof pitch, sheet thickness, finish and the type of support at the gable edge. These details enable an accurate recommendation rather than a best guess.
Roof Sheets Online can help customers match box profile sheets with the right flashings, fixings, fillers and other finishing components for a complete order. That is particularly useful when a project involves rooflights, insulation or a mixture of roof and wall cladding details.
A verge trim should be treated as part of the roof system, not an optional cosmetic extra. Take a few minutes to confirm the profile, cover and fixing arrangement before placing the order, and the finished roof will look sharper and stand up to bad weather far better.