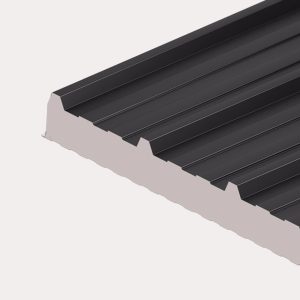
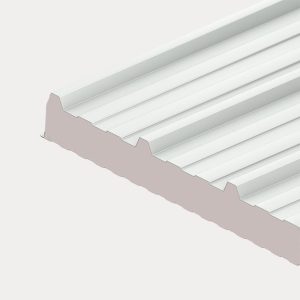
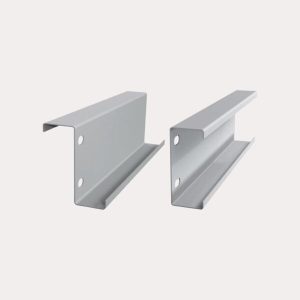

A cladding job usually goes wrong long before the first sheet is fixed. Most problems start with the basics – the wrong overlap, missing support, poor fixing lines, or trying to make mismatched components work together on site. This cladding sheet installation guide is built to help you avoid that. Whether you are fitting sheets to a shed, workshop, stable, garage or light industrial unit, the goal is the same: get a straight, weatherproof finish with the right components from the start.
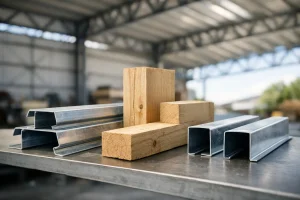
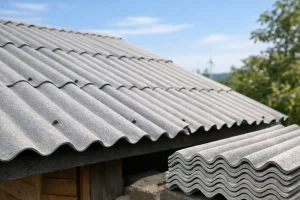
The first decision is not the fixing pattern. It is the sheet type, profile and support structure. Wall cladding sheets are not one-size-fits-all, and a box profile installation behaves differently from corrugated or insulated panels. The span, exposure, building use and finish all matter.
For example, a small garden outbuilding can often take a simpler single-skin sheet system if the frame is sound and ventilation is considered. A workshop, agricultural building or commercial unit may need a more durable build-up with insulation, anti-condensation control or a higher-grade coating such as plastisol for longer service life. If the building is exposed to coastal air or driving rain, that also affects specification.
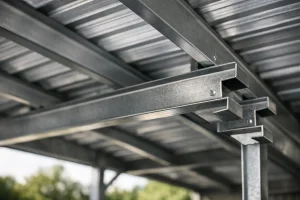
You also need to confirm that your rails, purlins or support members are level, square and set at the correct centres for the sheet you are using. Even premium-quality sheets will look poor if the supporting structure is out. Cladding does not hide bad groundwork – it tends to highlight it.
The cleanest installations usually come from complete ordering, not piecemeal buying. Sheets, fixings, flashings, fillers, trims and closures are part of the same system. If one element is missing, site delays start quickly.
Measure the full wall area, then allow for side laps, end laps where required, openings, corner details and base or top flashings. It is worth checking lengths twice before ordering cut sheets, especially if the frame has changed from the original drawing. On refurbishment jobs, existing buildings are often less consistent than expected.
This is also where many buyers save time by sourcing everything from one supplier. Matching profiles, fixings and trims from the outset reduces guesswork on installation day and helps avoid the common problem of sheets arriving before the correct flashings or stitchers.
Cladding sheets are straightforward to fit when handled correctly, but they can be marked, distorted or damaged if dragged, dropped or stacked badly. Store packs clear of standing water and keep them covered while still allowing airflow. If moisture gets trapped between sheets, sheet appearance can suffer before installation even begins.
Use lifting methods that suit the sheet length and weight. Longer sheets need proper support during carrying to prevent edge damage or twisting. Always check the manufacturer guidance for safe handling, especially with insulated panels, which need extra care to protect both faces and joints.
For cutting, use appropriate tools that do not burn the coating. Hot cutting methods can damage the finish and shorten the lifespan of the sheet edge. Any swarf should be brushed off promptly because metal filings left on the surface can stain and rust.
If the first sheet is wrong, the rest of the run usually follows it. Set out from a true vertical line and check how the sheets will finish at corners, openings and eaves before you start fixing. On some jobs, it makes sense to begin from the most visible elevation so the final cut lands in a less prominent position.
Offer up the first sheet carefully and make sure it is plumb. Check cover width, support position and where the side lap will sit. Do not fully tighten every fixing immediately. It is often better to secure the sheet enough to hold it, recheck alignment, then complete the fixing pattern.
This is especially important on long runs. A few millimetres out on each sheet soon becomes a noticeable problem by the time you reach the far end of the wall.
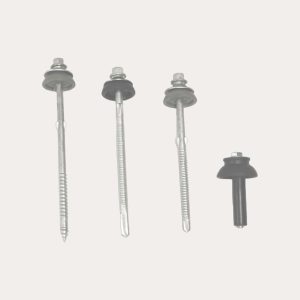
A proper cladding sheet installation guide has to be clear on this point: the correct fixing matters just as much as the sheet itself. You need the right fastener type, length and washer for the substrate, whether you are fixing into timber, steel or secondary rails.
Single-skin steel cladding is usually fixed through the sheet into the support at the recommended points for that profile. Side laps are then secured with stitching screws where required. The exact pattern depends on profile design, support centres, wind exposure and sheet thickness, so always work to the product specification rather than habit.
Over-fixing can be as unhelpful as under-fixing. Too much pressure on a washer can distort the sheet and affect weathering performance. Too little pressure leaves movement and potential water ingress. The washer should compress enough to seal, not bulge excessively.
Laps need the same attention. Side laps must sit cleanly without debris trapped underneath, and end laps need the correct overlap length where used. If sealants or tapes are specified, they should be applied neatly and consistently. Missing closure details at corners, bases or eaves can leave a tidy-looking job vulnerable to draughts, moisture and pest entry.
The main sheets do the bulk of the weatherproofing, but flashings finish the system. Corner flashings, base trims, head flashings, barge details and window or door surrounds all protect exposed edges and help the installation look complete rather than improvised.
This is often where lower-quality jobs show. A sheet run may be straight enough, but poorly measured trims, uneven corner details or visible gaps around openings can spoil the finish and create maintenance problems later. Precision here pays off.
Take time to dry-fit flashings where needed before final fixing. Check that they sit tight without forcing the cladding out of line. On refurbishment work, existing walls and reveals may not be perfectly straight, so some adjustment is normal. The aim is a weatherproof finish with consistent lines, not forcing rigid details onto an uneven structure.
Doors, windows, roller shutters and service penetrations always slow the pace of installation. That is normal. These areas need careful planning because rushed cuts and patchwork trims are often the first points to fail.
Mark openings accurately and allow for suitable trims and weathering details. Keep cut edges clean and protect them properly where required. Around penetrations, think beyond appearance. The detail needs to shed water and cope with movement, not just cover a gap.
If you are working on a mixed build with roof and wall systems meeting together, make sure the interface details are resolved before cladding starts. The meeting point between wall sheets, roof sheets and flashings is where inconsistent ordering tends to create hold-ups.
The biggest installation issues are usually avoidable. Incorrect support centres, using the wrong fixings, starting off-line, missing stitching screws, poor lap sealing and ordering trims as an afterthought are all common. So is assuming that one sheet profile can be substituted for another with the same accessories. It often cannot.
Another frequent problem is ignoring condensation risk. Wall cladding on workshops, garages and agricultural buildings can still be affected by internal moisture and temperature differences. Depending on the use of the building, you may need to think about insulation, ventilation and the wider building envelope rather than treating the cladding as a standalone cosmetic layer.
There is also the question of finish. Polyester can be a cost-effective choice for some projects, while plastisol may be the better long-term option for tougher environments or buyers who want greater durability. The cheapest sheet on day one is not always the best value over the life of the building.
Some jobs are straightforward. Others are not. If you are dealing with unusual spans, high exposure, refurbishment over an existing frame, insulated systems, or multiple openings and trim details, it is sensible to check the specification before ordering.
That is where a specialist supplier earns their place. Roof Sheets Online supports customers with practical product guidance, matching accessories and delivery coordination, which matters when a job needs to move without delays. For trade buyers, that saves chasing missing items. For competent DIY customers, it removes much of the uncertainty.
A good cladding installation is not about making it look acceptable from ten metres away. It is about getting the details right so the building stays weather-resistant, secure and low-maintenance for years. Take the time to set out properly, use the correct components and do not guess on the specification if the project is even slightly outside the ordinary. A straight, strong finish starts with the right questions before the first sheet ever goes on the wall.
Roof Sheets Online Ltd
UNIT C4
MACROME ROAD
Wolverhampton
WV6 9HD
Company No 15150940
Vat No. 4880 70856